I bought a EZ Wiring 12 circuit mini harness. Once it gets here I'll be rewiring the car at nights after work. $140 shipped off of ebay.
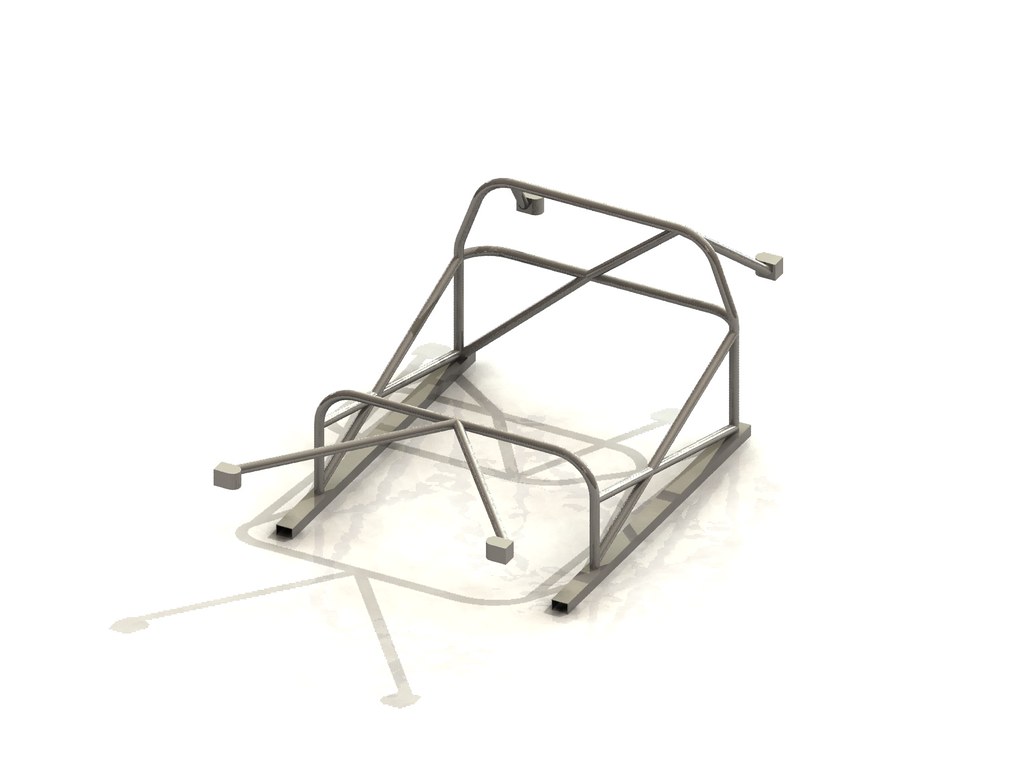
http://www.ezwiring.com/I have also contacted a local cage fabricator to bend up my main roll hoop out of 1.625" X 0.120" DOM tubing.
http://www.racetechmotorsports.comI used this drawing from 74_5.0L_Z's photo album.:

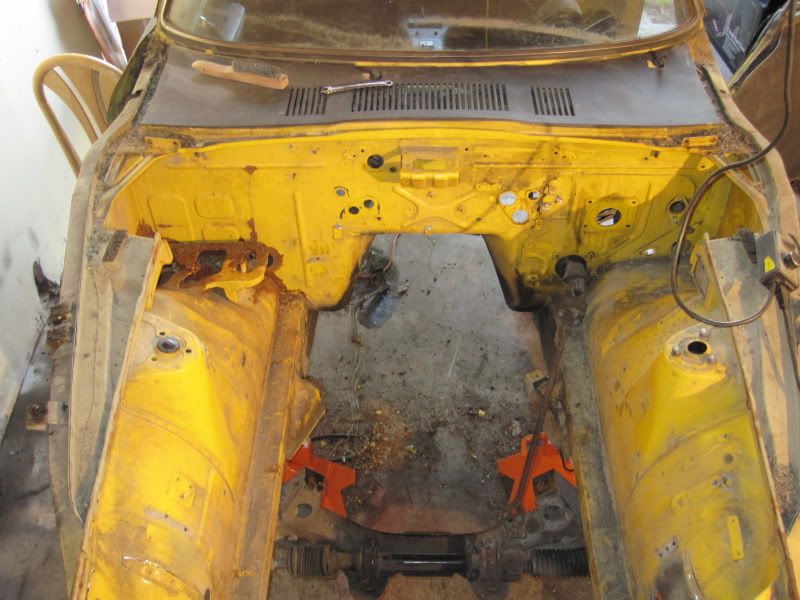
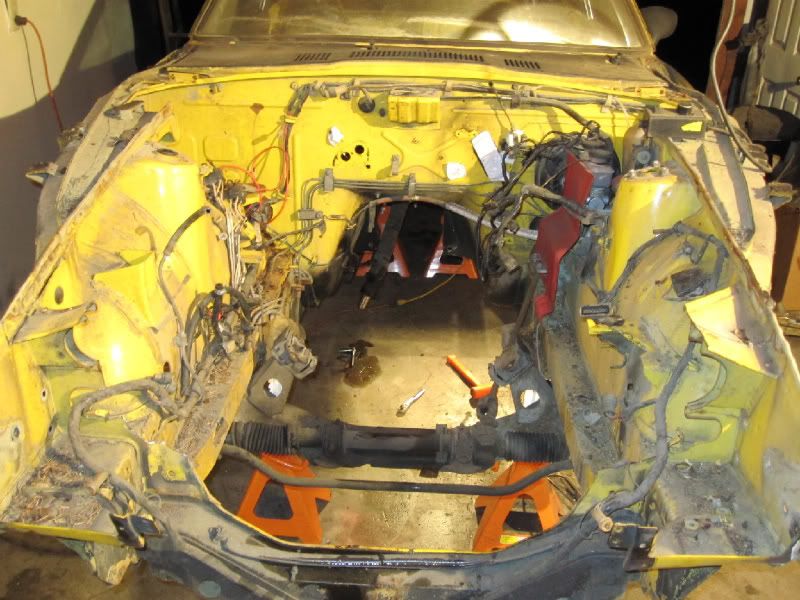
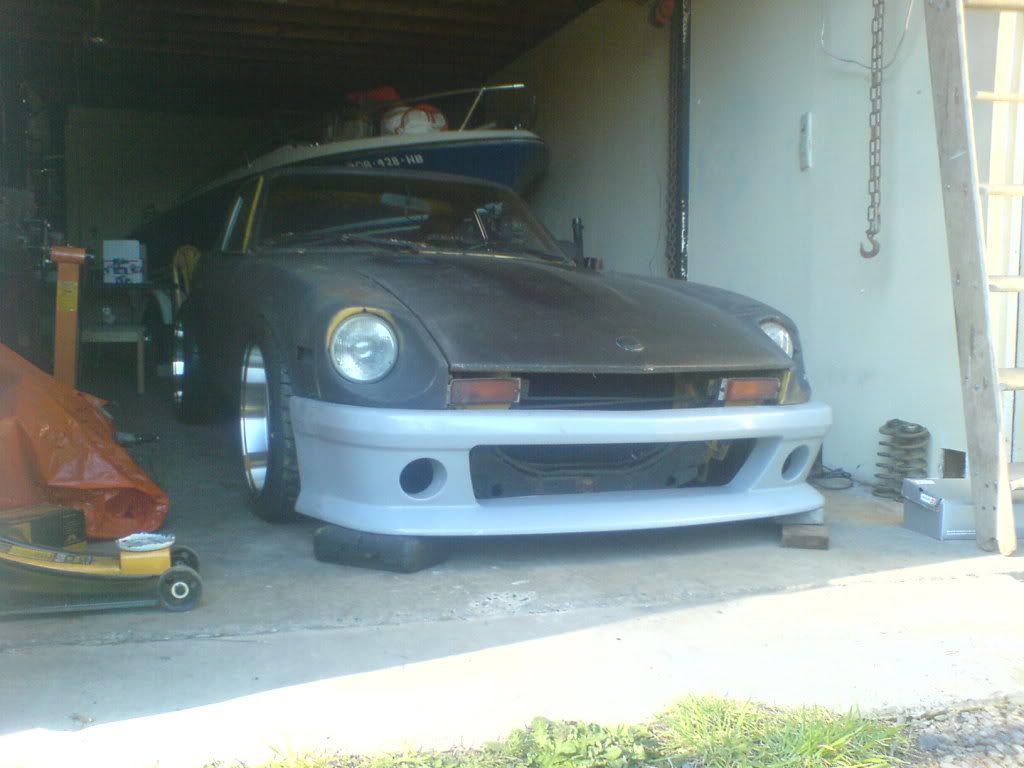
I've stripped most of the interior sound deadening trying to locate any and all rust in the car. The only rust on the interior I've run into so far has been a 4"X4" patch under the brake pedal. I'm going to cut this out tomorrow. I've also found that the drivers side frame rail is slightly rusted out. I'm going to cut out the rust here and strip away all of the undercoating tomorrow.
I purchased a set of S12+8 calipers with pads from the local napa. I was hoping to get the straight s12 calipers, but they didn't have any. I'm going to go through the brakes tomorrow as well. Hopefully once I replace the calipers and bleed them system, I'll have no more brake issues.
Tonight I went out to PIR drag nights. What a fun event. The coolest car there IMO was a honda CRX with a turbo b18 in it. The guy was running a sc61 at 18psi on E85. It's final run that got it kicked off the track was a 10.4 @ 136mph. I was extremely impressed seeing this FWD compact car kick the ♥♥♥♥ out pretty much everything at the track

What a good motivator to get me working on my car.

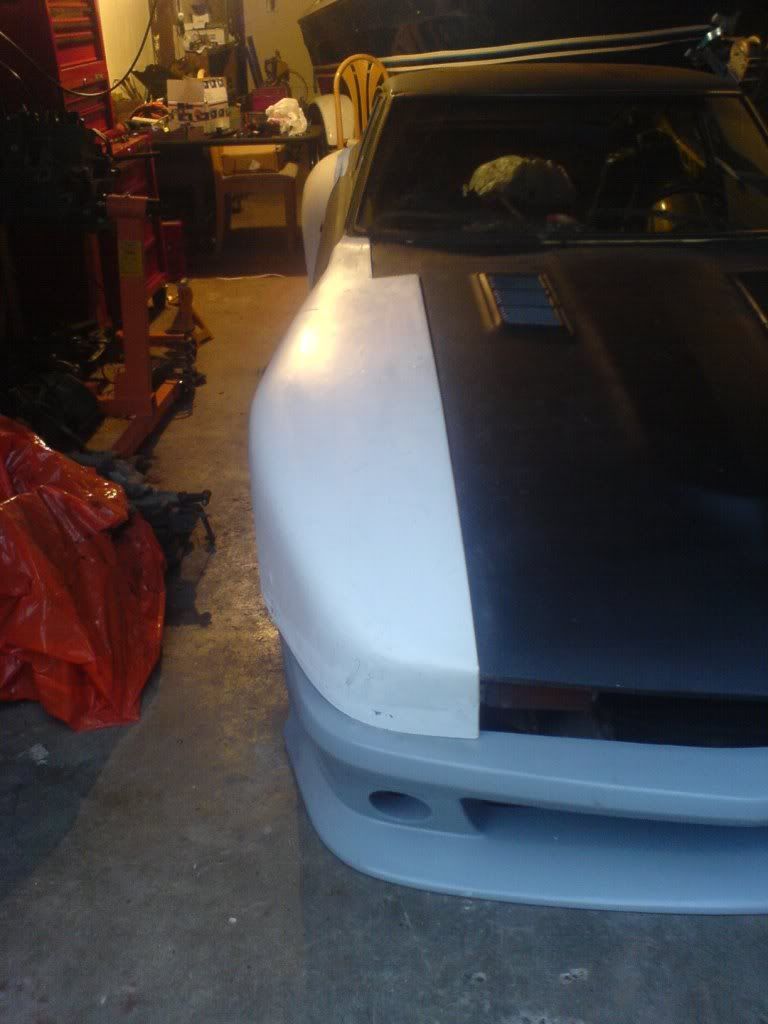
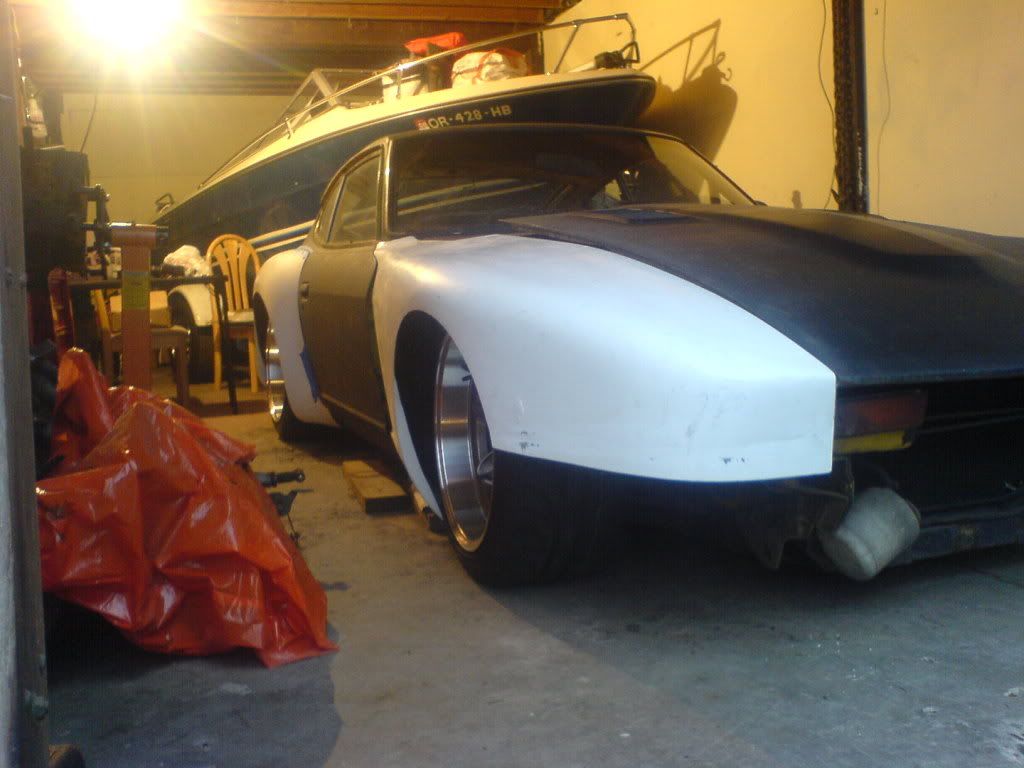
Going to the drag strip Saturday night really got me motivated. I started working on my 280z a lot this weekend. The 280z is now called Project Cheetah because of my rust removal work this weekend. I will leave the car multi-colored for this summer I think. Hopefully this next winter I will have the money to give it a proper paint job.

Anyway, I worked on stripping the interior some more. I used a buffing disk to clean off the remaining bits of tar from the sound deadening. I wasn't able to get all of this completed because the 20 gallon compressor in the garage just isn't up to the task. Its constantly running and getting very hot. The black painted areas are those that I got down to bare metal with the buffer.
Along the way I took a grinder and cut off wheel to the drivers side floor pan. I have almost all of the rusty metal out of it. There is a 4"X4" hole in the floor now under the brake pedal. I also have half of the drivers side frame rail that is rusted out. It really isn't terrible, and I will be doing some more grinding to get the rest of the rust out of this area. Once that is finished, I will be able to weld up both the frame rail and the hole in the floor.


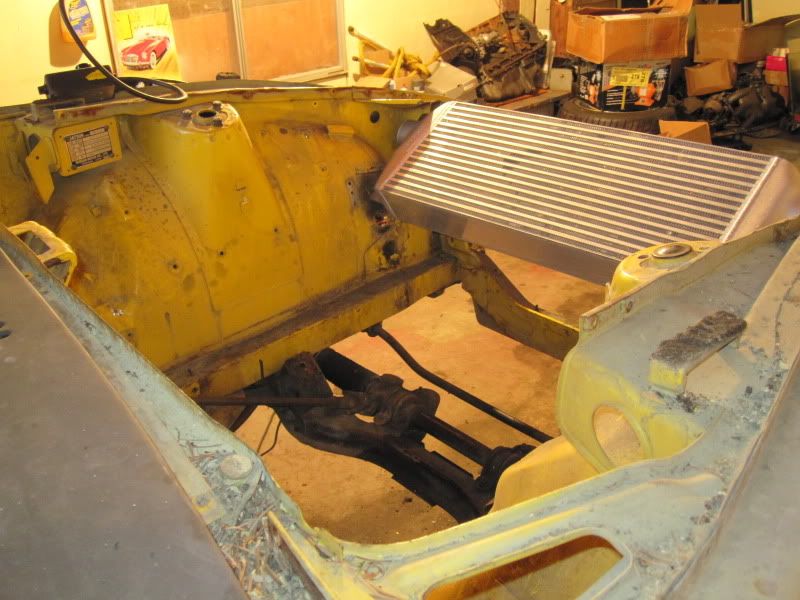
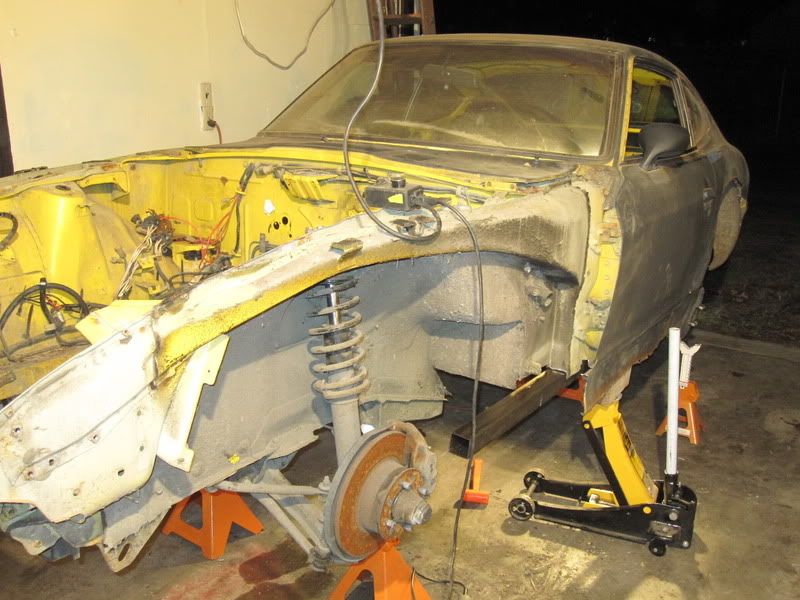
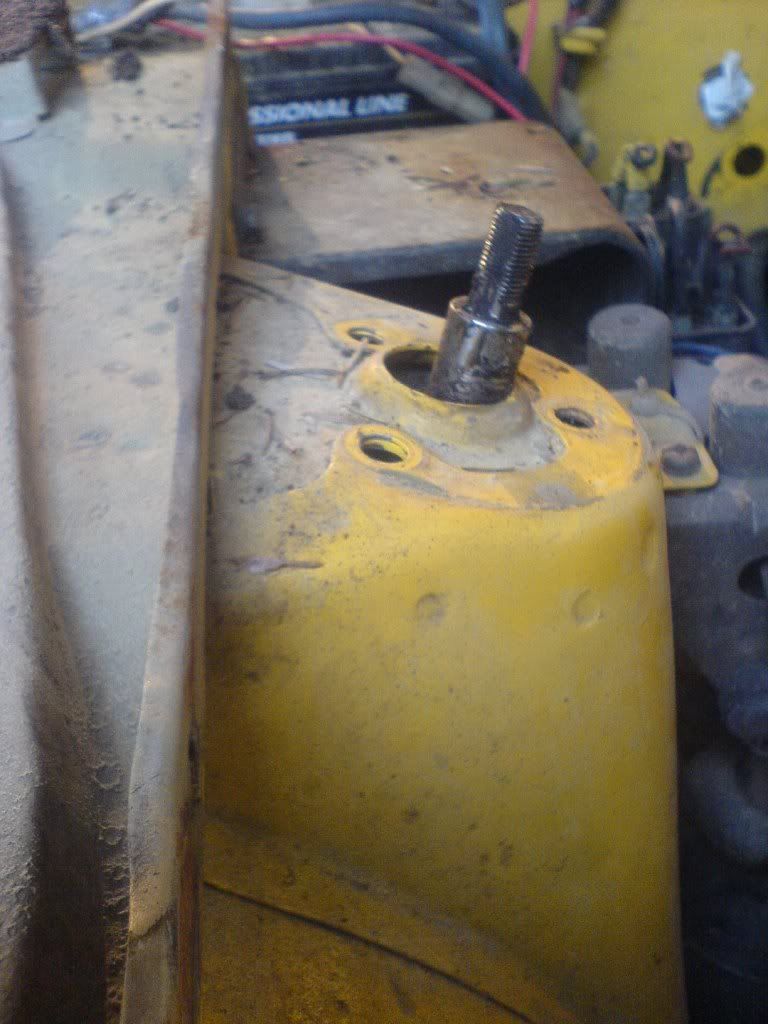
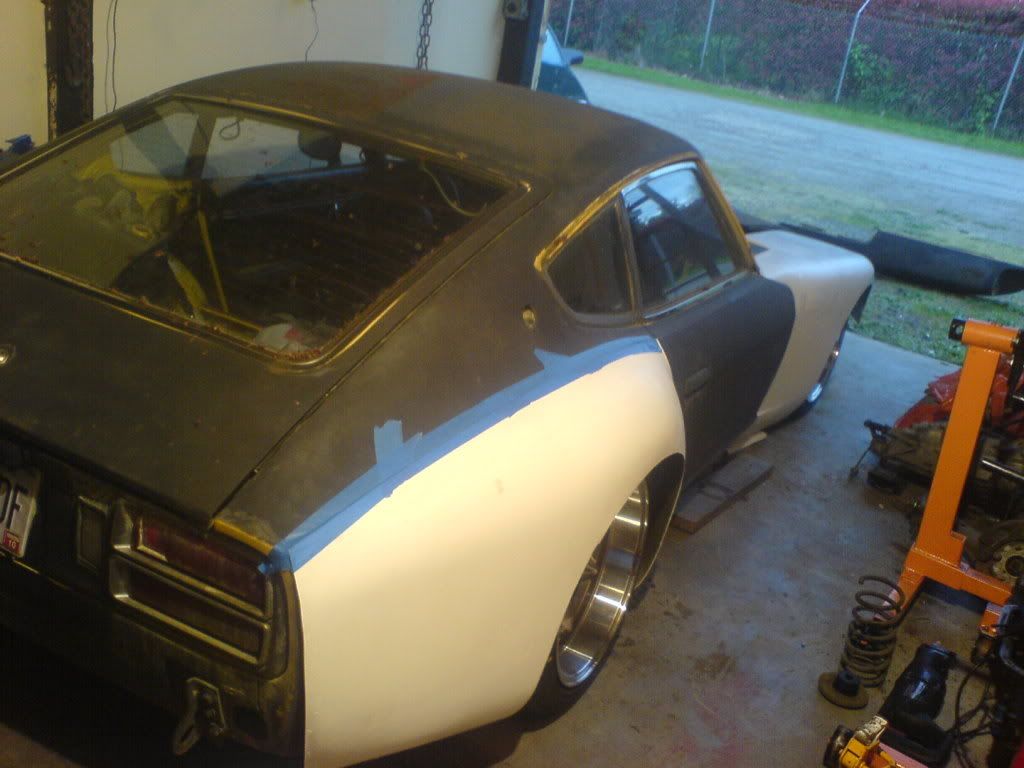
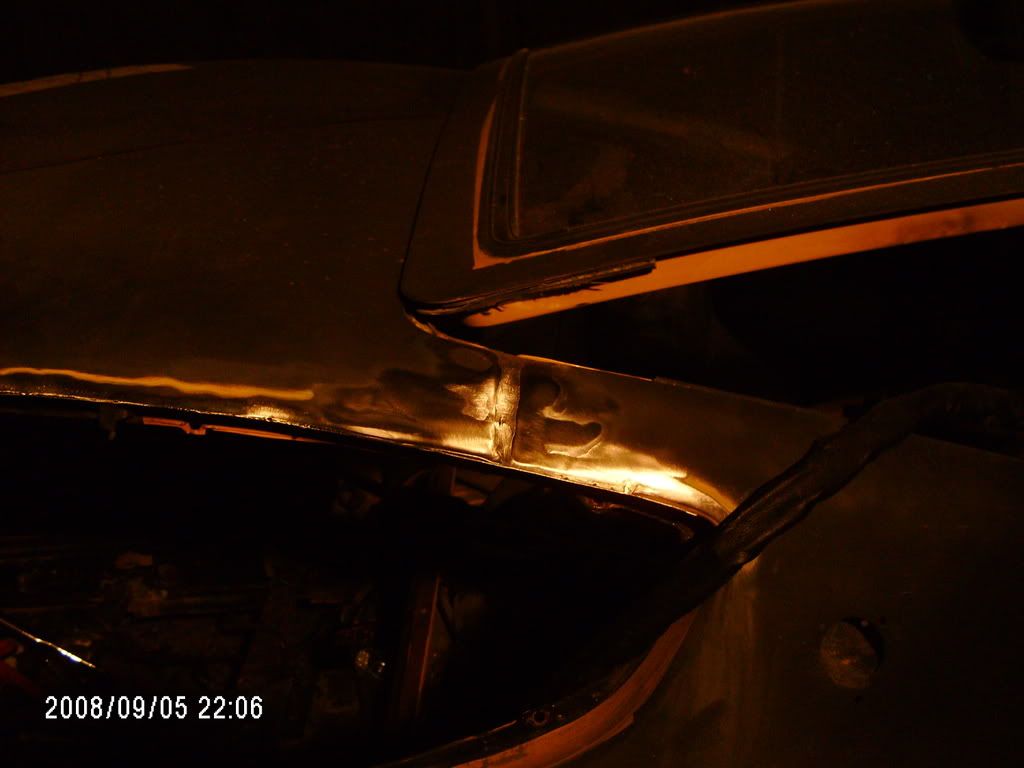
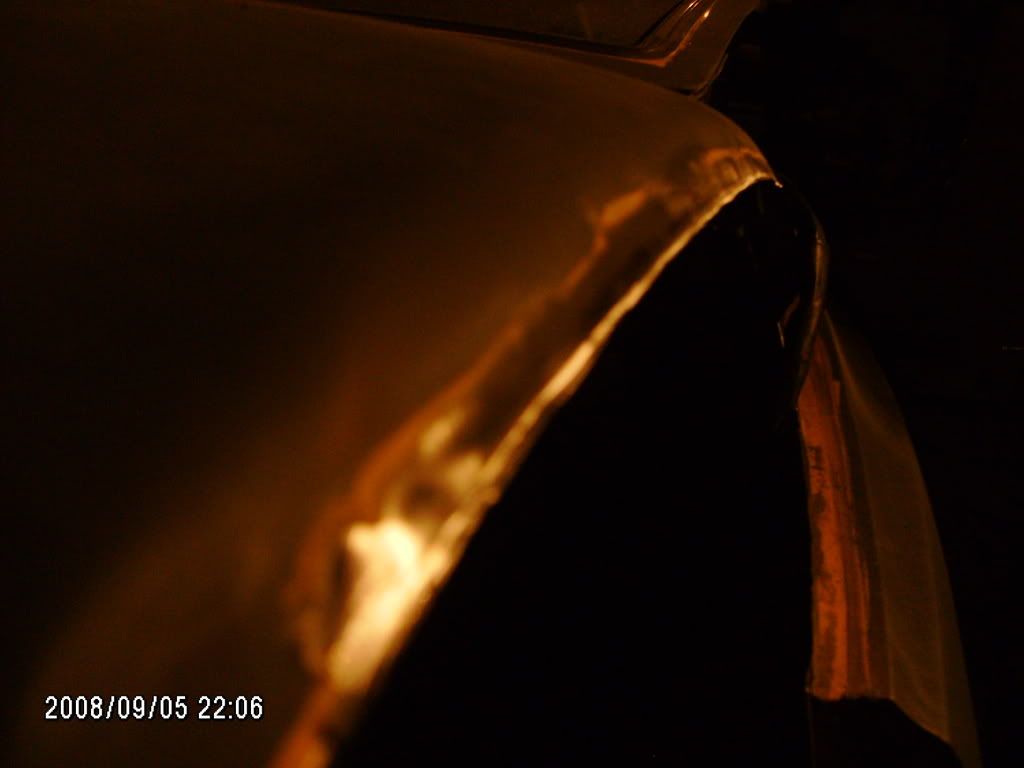
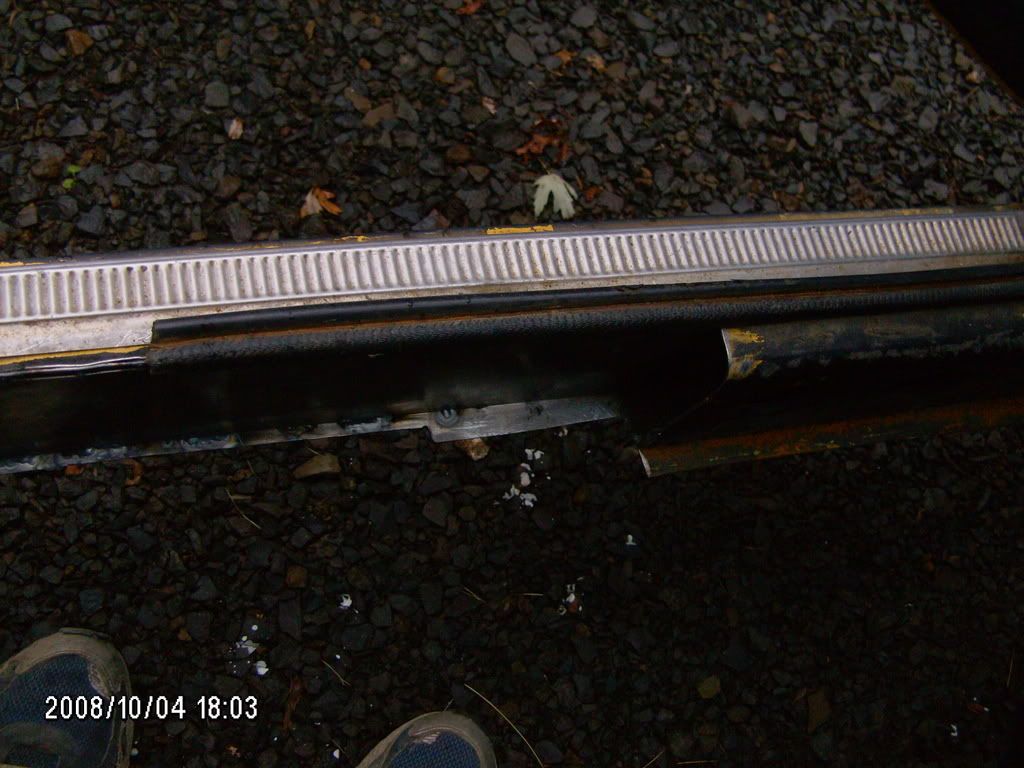
I've been wanting to take of the 280z rear bumper for a long time. The metal shelf above the bumper was all bent up and ugly. Half way through buffing tar off the floor I decide to remove the rear bumper. It really wasn't hard to get the bumper shell itself off of the car. The hard part was removing the metal shelf and the bumper shocks. I had to drill out the spot welds from the metal shelf. Then I had to drop the fuel tank to get to the bumper shocks. Then I was able to remove both shocks. Get the tank buttoned back up. Then grind the crap out of the rusted area where the shelf used to mate up to the back of the car. I didn't have time to sand down the whole rear of the car, so I didn't worry about spray painting it all. I just did a quick coat of paint on the bare areas. I'm definitely going to go back over this area with some sand paper to make it look less hideous. I don't like the aesthetics of the car right now, but the weight dropped by losing the rear bumper was a plus. I also like that the car seems to be 6" shorter now.


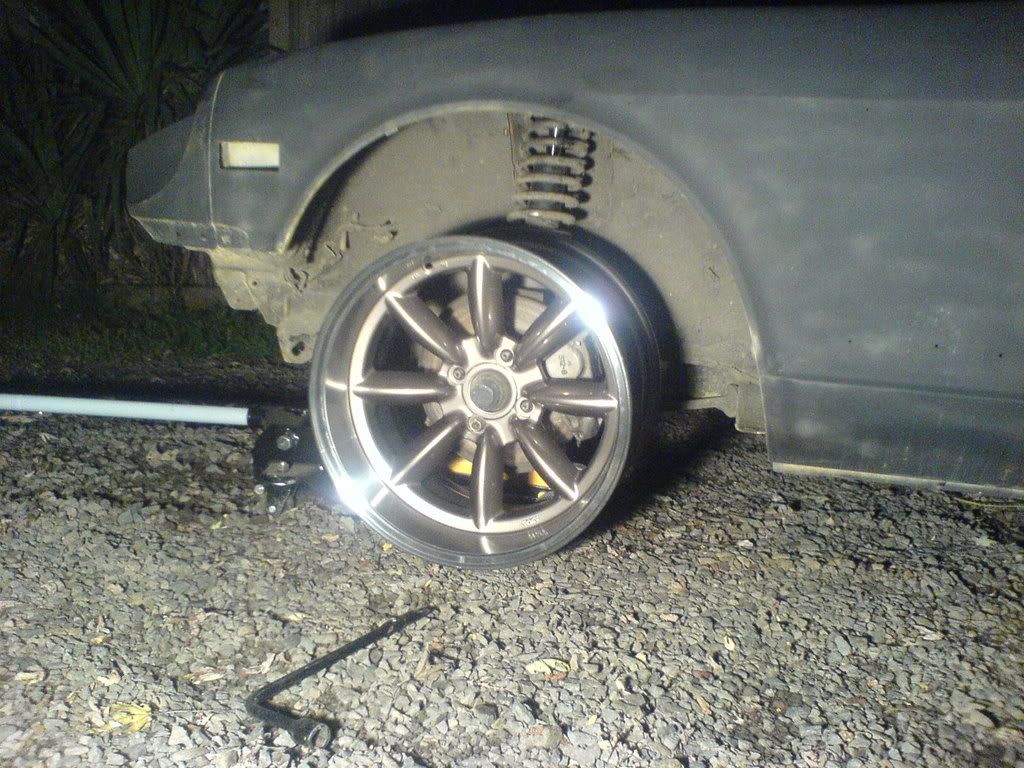
So my day was about over and I decided to see if the S12+8 calipers would clear my wheels. I mounted the passenger side caliper. The factory calipers were trashed. I little work with the cut off wheel on the dust shield and I was in business. I'm not sure if brake fluid is flammable, but I was careful not to get sparks on any of it just in case. I ran out of time and didn't mount the drivers side caliper.

I went ahead and made an impulse buy on an OBX R200 LSD made for the 240sx. Its a Quaife knockoff and I've heard good reviews for their other models so I decided to try it. For $400 shipped, I'm willing to experiment. Hopefully I receive the differential in the next two weeks so I can mount it up.
I hate you 280z transmission tunnel!
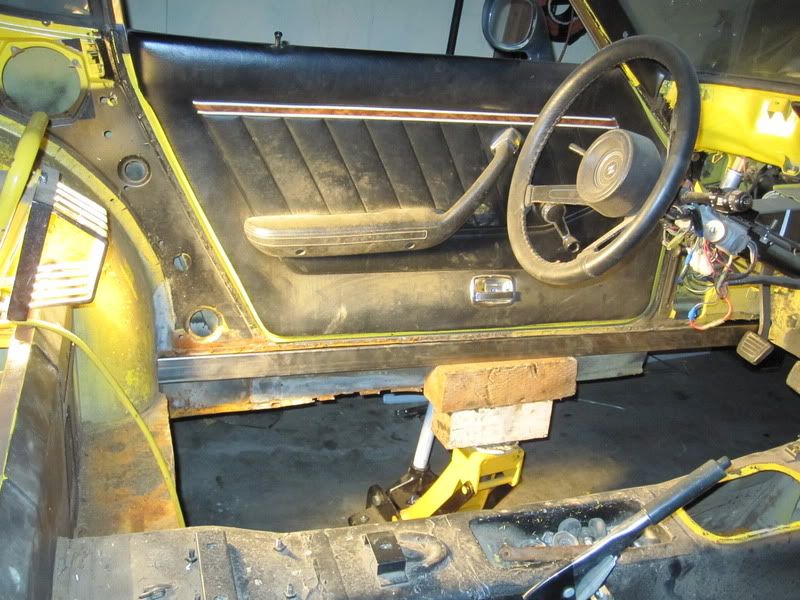
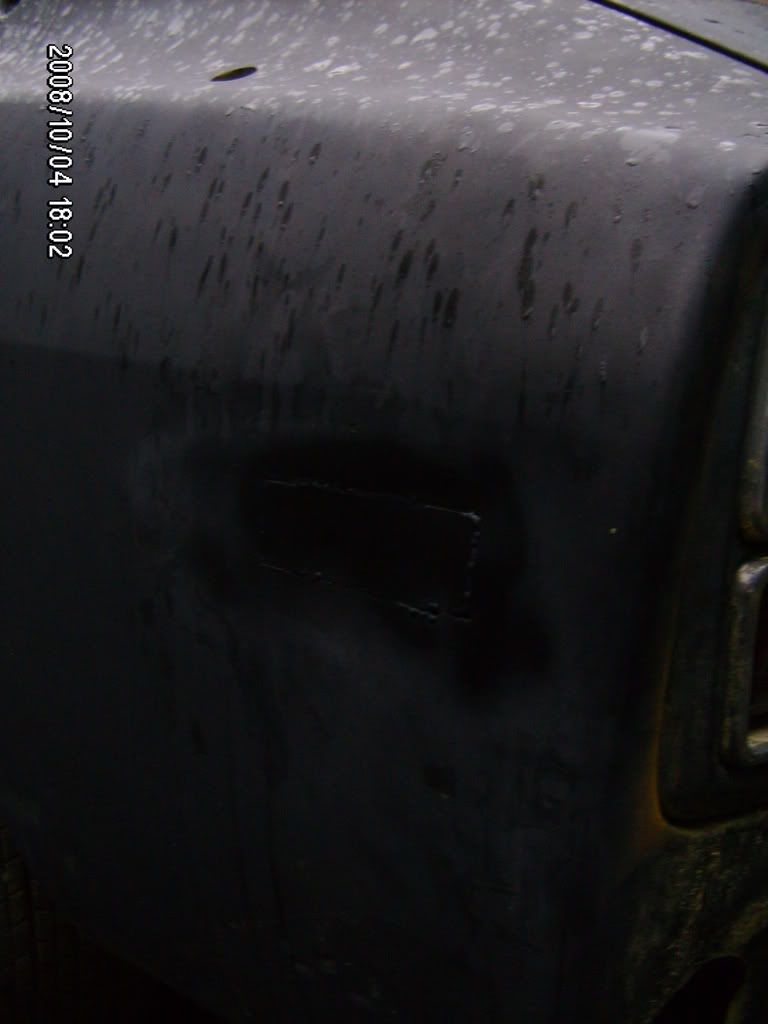
I got my S2000 passenger seat all squared away. Cutting off the factory mounting tabs will make the seat rails fit very nicely. I go to test fit the same modifications on the drivers side and then realize theres a big bulge in the transmission tunnel to accommodate the catalytic convert. To get the drivers side seat to work, I'm going to do some "custom" mods with a sledge hammer.
Circled in red is the bulge I'm going to have to beat down to make the seat fit.

I finished installing the passenger side toyota caliper. Easy enough, but I didn't have a cut off wheel for the dust shield. I ended up using a sawzall. What a bad choice of tools. The dust shield is so thin, it just shakes back and forth and its very difficult to get a good cut started.
On the OBX differential front, I have a guy with will fit bearings to the diff. He's going to heat up the bearings in a oven at work and fit them to the diff. Once he's done with that, the install should go fairly easily. Do you guys usually set the pinion depth when swapping a new diff in? I'm going to reuse the ring and pinion that are currently in the pumpkin.
Heres how the car looks with the S2000 seats sitting in it. I'm trying to get them bolted down, but the sheetmetal is very thin, 20 Gauge? I just sourced some metal to repair the holes in the floor. I will likely weld in some angle iron and bolt the seats to that. I'd feel more comfortable having the seats bolted to some thicker metal.


I pulled the dash today to get started on rewiring the car and change the heater core at the same time. The dash came out surprisingly easy once I found all of the bolts. It is freakin heavy!!! I'm going to draw up a sheet metal dash and have a local shop bend one up on there press brake.
For the price, I'm considering making this aluminum dash from jegs work:
http://www.jegs.com/webapp/wcs/store...10002_12942_-1I was considering doing the front fenders off of this car:
http://web.mac.com/markrolston/iWeb/Site/Z-Blog/80E6D86A-FC1B-4DD0-95E3-28017E424DA6.htmlI called Al’s Bodyworks at 512-836-1851 about doing a similar set of front flares for my car. The cost was $5000 for the front set plus the car needs to be at his shop to get them fitted!!!!!!!!!!!!!! I'm not that wealthy.
Anyway, I'm thinking I will go with the Subtle Z front kit and the YZ rear quater panels. I think this will look very nice
I'm waiting to hear back from John Washington on the cost of this setup shipped to me up in oregon.
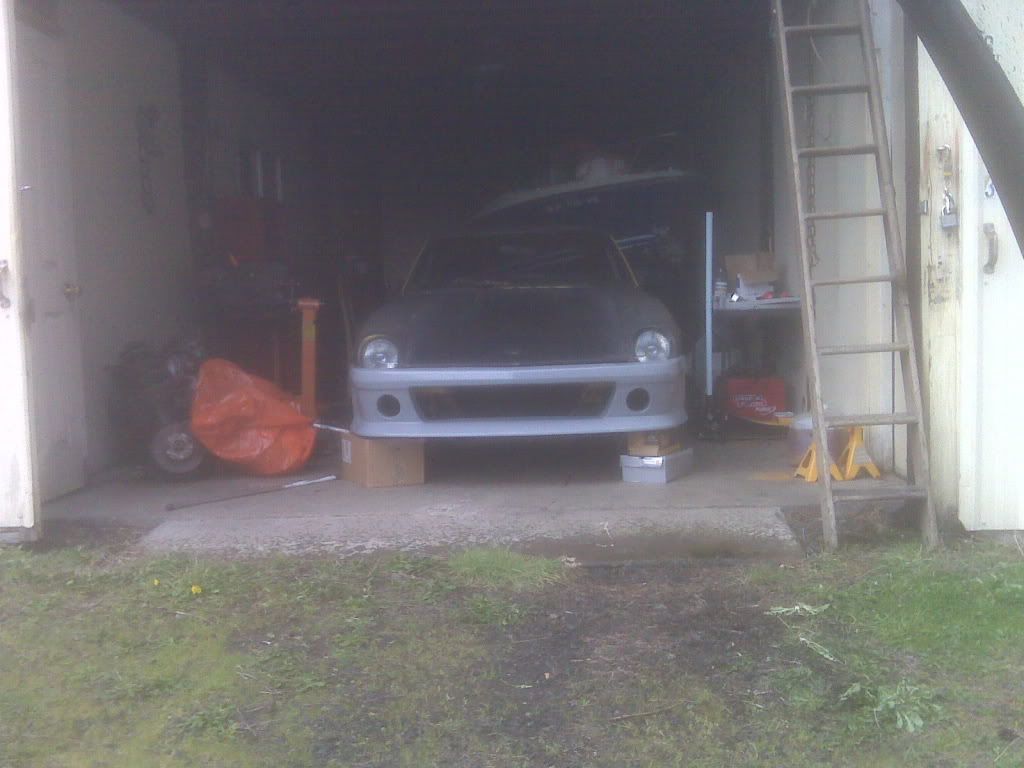
Just got the car road worth tonight and bought insurance for it. I'm going to be doing a lot of work on the Cheetah tomorrow at my friends shop. I'll post some updates tomorrow.
Well Today I feel like I got a lot done. I got the whole interior stripped down to bare metal. I'm going to pull all the interior back out tomorrow and spray it with a black enamel paint so that I dont get any surface rust. I also sanded down my hood with a DA sander and will spray that tomorrow. Grinding off all of the remaining insulation and paint was a tedious task. It took me a solid 6 hours today with air tools. I need to get the car down to my cousins shop to do the welding on the floor boards. I want to get the interior all rapped up so that I can start wiring the EZ wiring harness in along with Megasquirt.
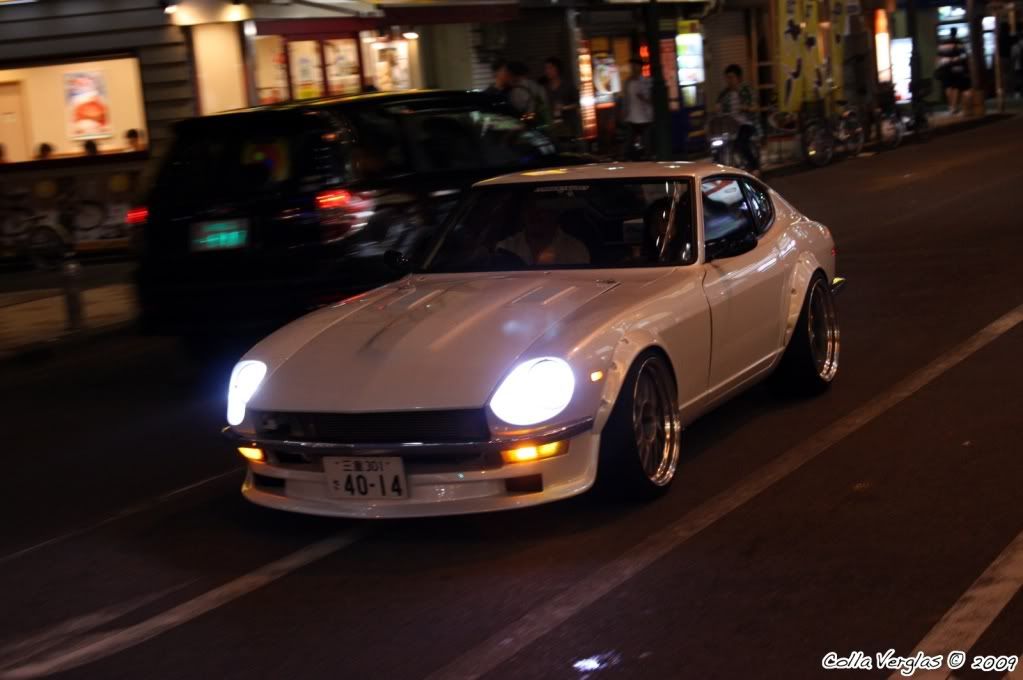
It feels really good to be driving my humble little Z car. Its not really fast, but its a lot of fun to drive. I'm hoping with some suspension upgrades (Koni 8611's and Hyperco's) It will handle very very well. I'm holding off on doing any paint until I get all of the mechanical changes done. I dont want to scrap up a new paint job dropping in a new engine and working on the suspension.
Engine Shopping List:
L92 Heads $799.50:
http://www.sdparts.com/product/12582...inderHead.aspxL76 Intake Manifold with fuel injectors and fuel rails $528.95:
http://www.sdparts.com/product/12590...L76L92Car.aspx416CI L92 short block $4689:
http://www.sdparts.com/product/SDL92...CIFlatTop.aspxHeaders
Exhaust
Motor and Transmission Mounts
T56
Clutch
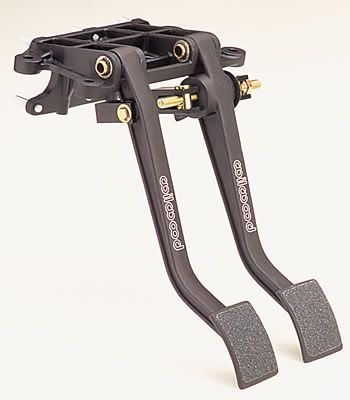
Master Cylinder
Megasquirt 2...
ts been a couple days since I took the interior down to bare metal. Today had a chance to paint it with some Krylon® Industrial Coatings™ Rust Tough® Enamel. It sprayed on really easy and the semigloss finish turned out nice.
Before:

After:

Well, My suspension plans are as follows:
Front:250lb/in Hypercoil 10” free length 2.5” diameter springKoni 8611-1259RACE5” threaded sleeves17”X8.5” wheels
245/40-17
Suspension Techniques 240z ARBTechno-Toy Camber PlatesAdjustable TC rodAdjustable Control ArmRear:275lb/in Hypercoil 10” free length 2.5” diameter springKoni 8611-1259RACE5” threaded sleeves17”X8.5” wheels
245/40-17Suspension Techniques 240z ARBTechno-Toy Camber Plates
Wow, I just priced the KONI 8611's and they've gone upto $309 per corner. I'll be looking at other options...
Bilsteins (F4-P30-0032-MO) per corner:
$101.25/Strut
$75.00/Revalved to 300/100
$25.00/Gland Nuts
I may try them with factory valving at lower spring rates of 200/225. I have to think about it. If I wasn't happy, I could send them to Bilstein for revalving at $300 for the set.
I'm thinking about doing a AIM MXL Strada digital dash instead of buying a bunch of individual gauges. The price of gauges really can add up.
http://www.aimsports.com/products/mxl-strada/index.htmlWell, I'm breaking down and buying a ThermalArc ArcMaster 185 from Quimby Welding Supply down in Portland. They were very nice about price matching the best price I could find on the internet. I really wanted to buy the welder locally so that if I had any issues, I could take it in for warranty.
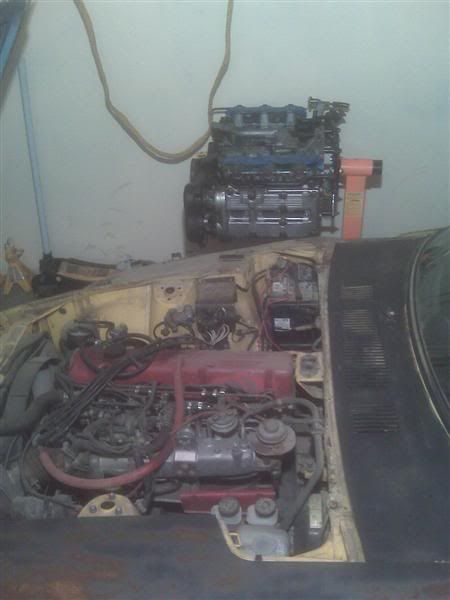
I found a 2JZGE engine locally that I'm going to buy. It should be great engine to play around with for the cost. Its much more affordable for me to do this motor then a big LSX motor at this point. The plan is to get the engine and transmission all setup and ready to drop in. Once I'm ready, I will pull the car off the road and build the engine and transmission mounts. Hopefully I will have minimal downtown with the car. I'm hoping to get the car running NA, and then putting a turbo on it once I have the bugs worked out. I'm planning on going with a TH400 out of the box with a boostwerx adapter plate.
I'm going to hold off on buying the TIG welder at this point. I want to focus on getting all the things I need to drop this motor in. For building the engine mounts I can use my friends tig welder.
Well, I got the 2JZ picked up and at my shop. It came with a complete wiring harness along with factory ecu's. I'm thinking I may just go down the Aem plug and play engine management, since I do have the complete harness.
On other good news I had a fuel line burst on my way to work. I was driving along and I started to see fuel spraying out of the vent hole above the intake manifold. I promptly turned the car off and coasted into a parking spot off the street. Man, I feel luck! I drove the car over 150 miles last night, and the car breaks down 2 blocks from my work.
The welder has landed. I went ahead and purchased the Thermal Arc Arcmaster 185. I sprung for the largest argon cylinder quimby welding would sell me. Can't wait to set up the shop.
 http://www.thermadyne.com/evolution/...=99&pdtnbr=567
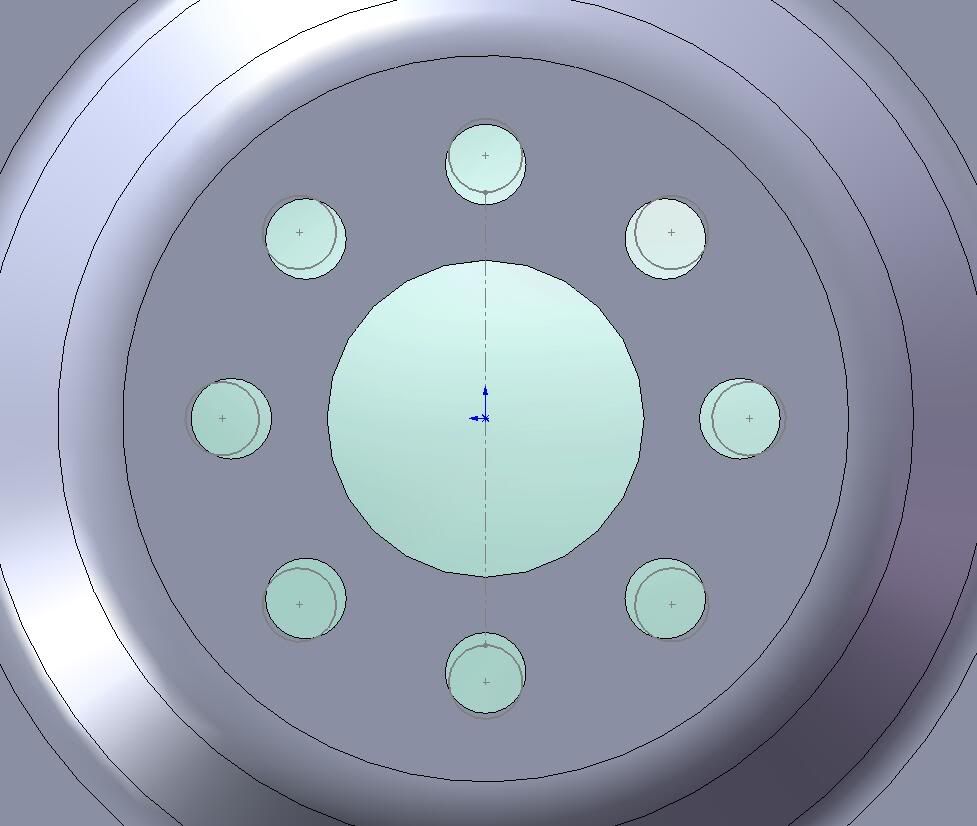
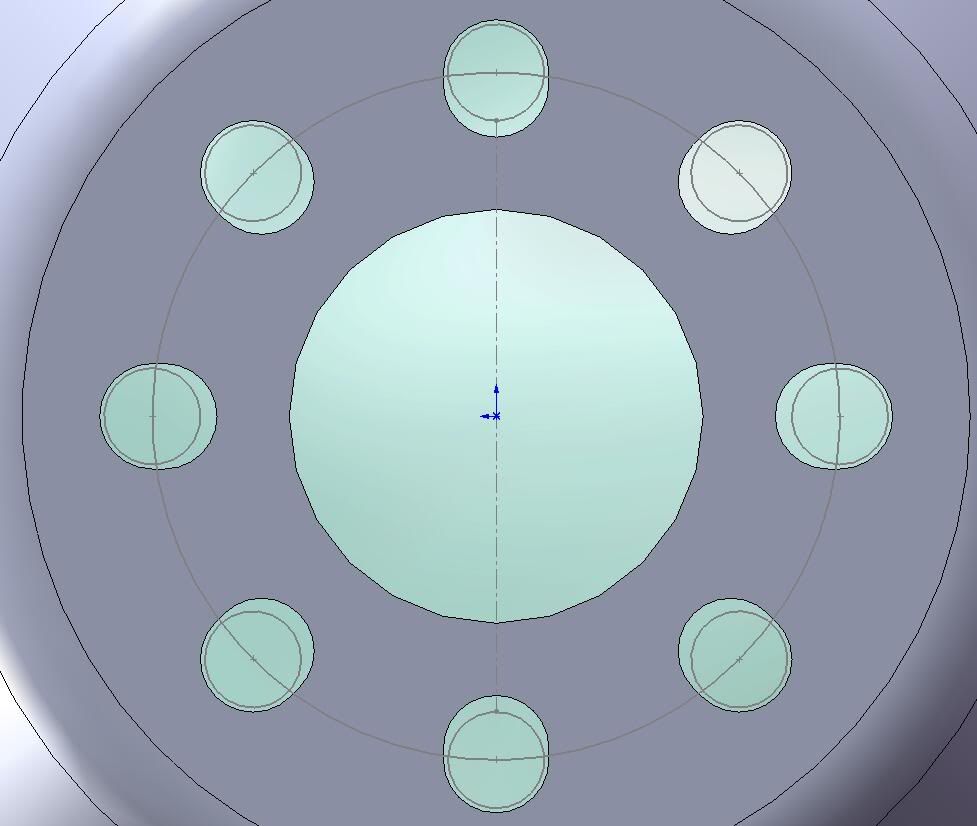
Playing some more with Solidworks.
The T6 collector is about 4.25" tall w/ flange. The T4 collector is 5.25" long w/ flange due to the smaller area it is merging into.
I've been looking at building a divided 6 into 2 turbo header for my 2JZ. I will be using 1.5" schedule 10 SS piping for the manifold. Here is an interesting model I did in solidworks comparing the T4 and T6 divided flanges when used for a 6 into 2 collector. It seems to me that the T6 collector would be much easier to build since the tubes match up much better to the turbine flange inlets. From my models it looks like you would have to crush down each 3-1 collector on the t4 flange for it to fit up properly. What yall think?
Justin


I was modeling the amount of grinding necessary to match the t4 flange outlet to the collector outlet. That can be seen in green. Also, this does simulate going in and welding up the four interior corners of the collector/flange merge as there is a abrupt shoulder there. Anyway, heres the picture.
Before Port Match:

After Port Match:

Well I got the turbo for my 2JZ build. Introducing MR S480:

And the reason I'm going t6 for one reason is the collectors are much easier to build with sch 10 1.5" pipe as you can see in this rendering:
Shopping list for the project:
Engine:
Fuel:
Injectors: 1200cc injectors
Fuel Pump:
Fuel Line: -10 AN Feed, -8 AN Return
to be continued...
http://www.tubing-benders.com/index.htmlI ended up picking up a Pro Tools 105HD bender with 1.625" X 6" CLR set.
I was going to buy the JD2 Model 3 bender, but they are on national back order. I'm doing the cage between Christmas and New Years so I need the bender ASAP.
Manifold Design for big turbo:

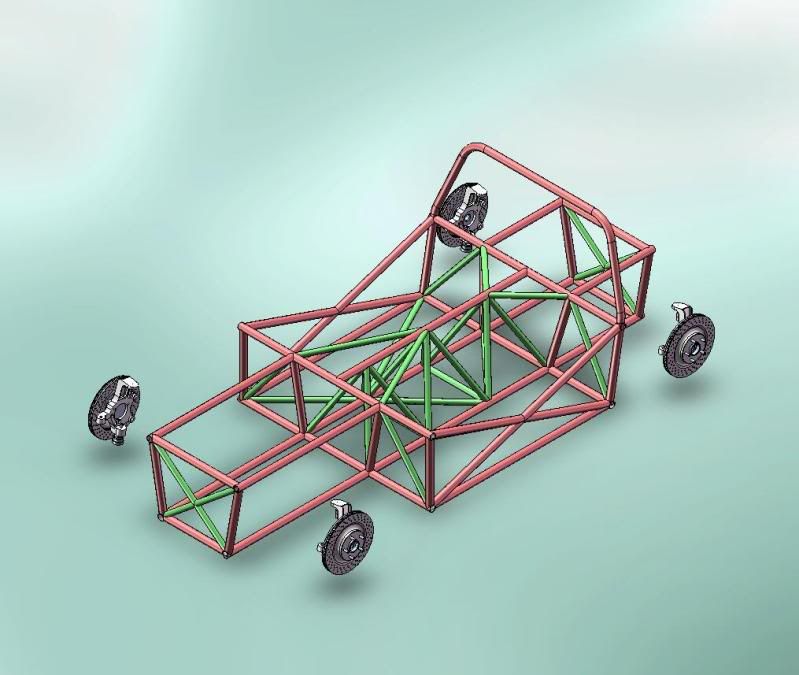
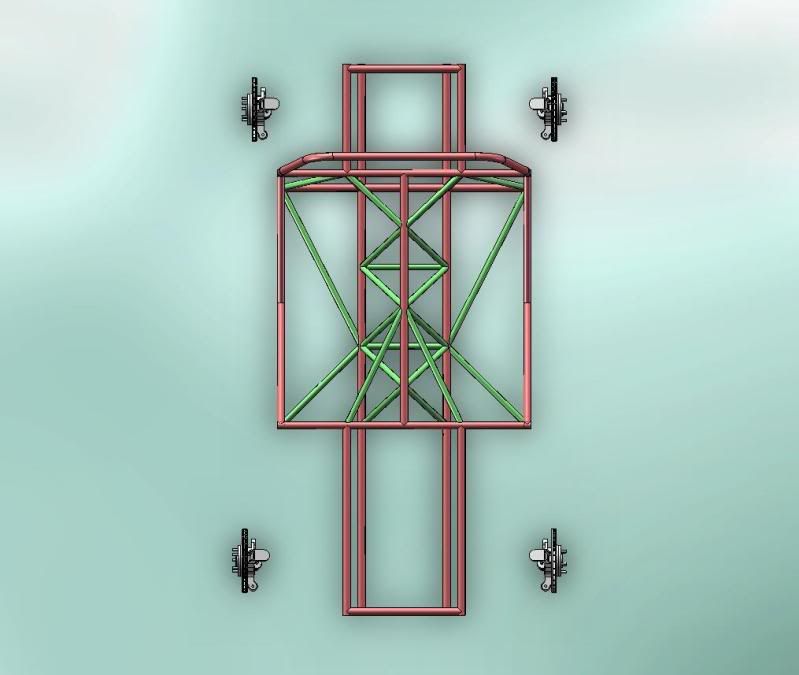
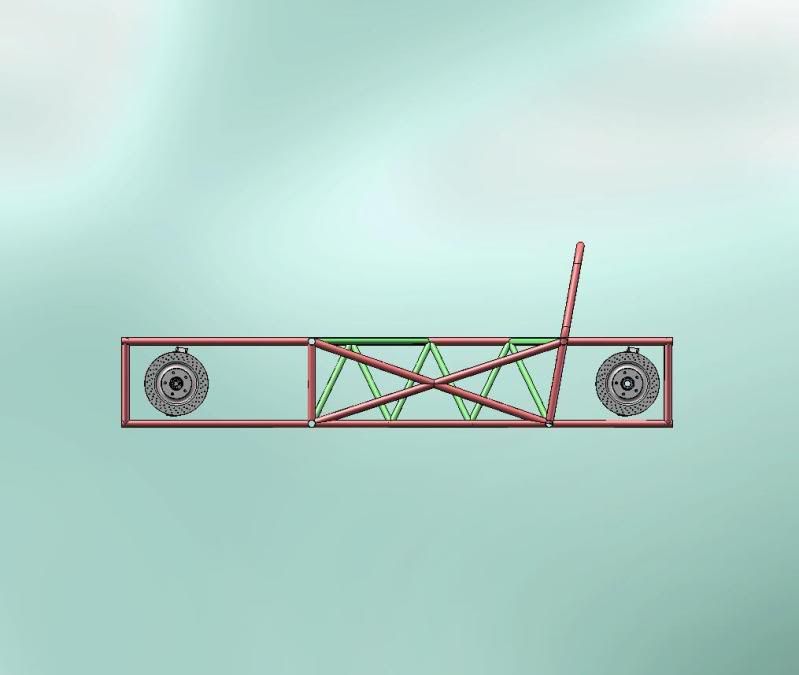
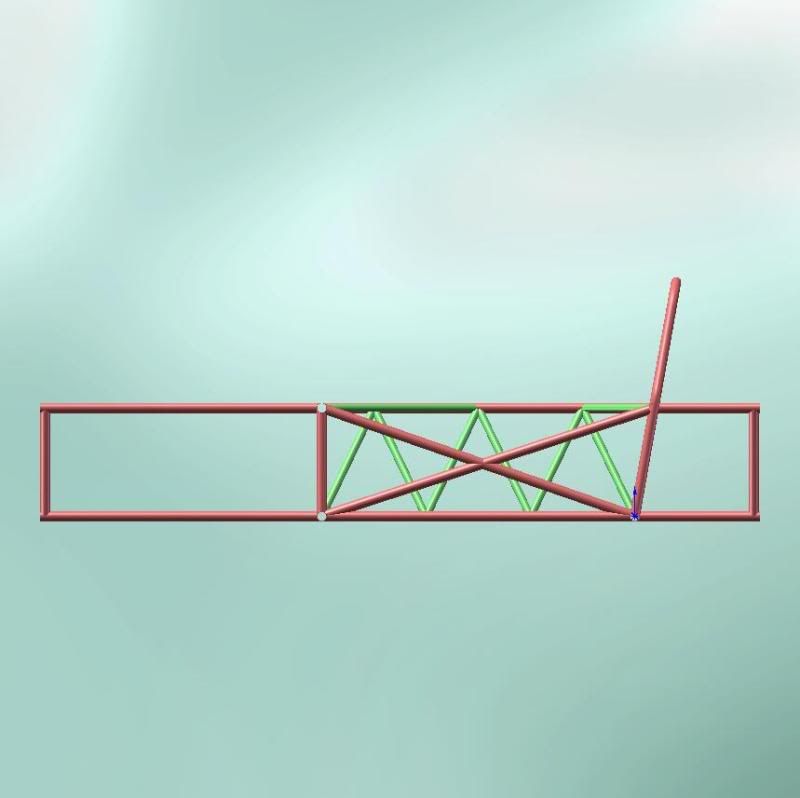
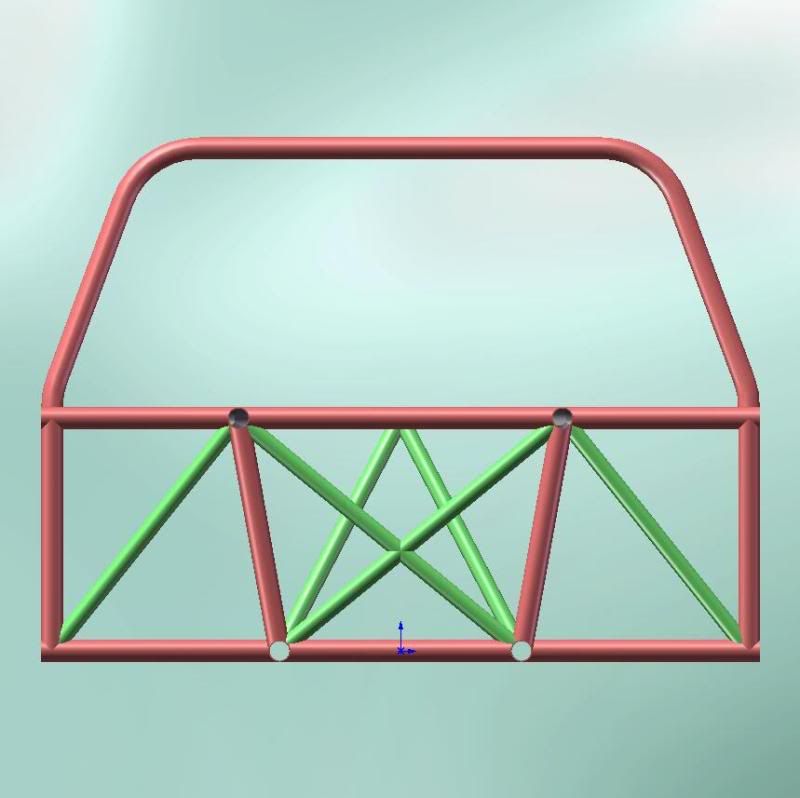
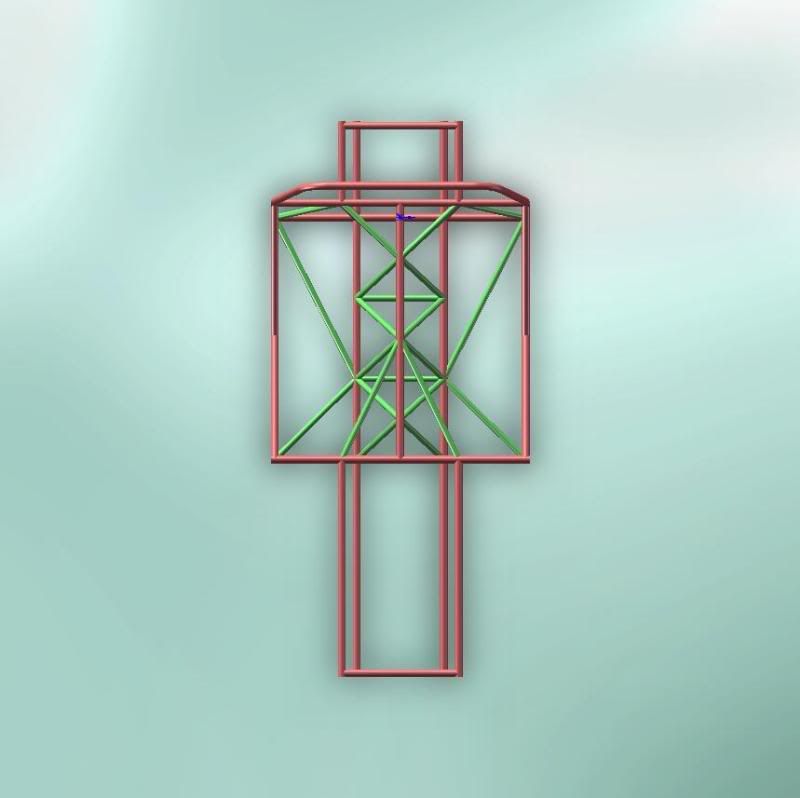
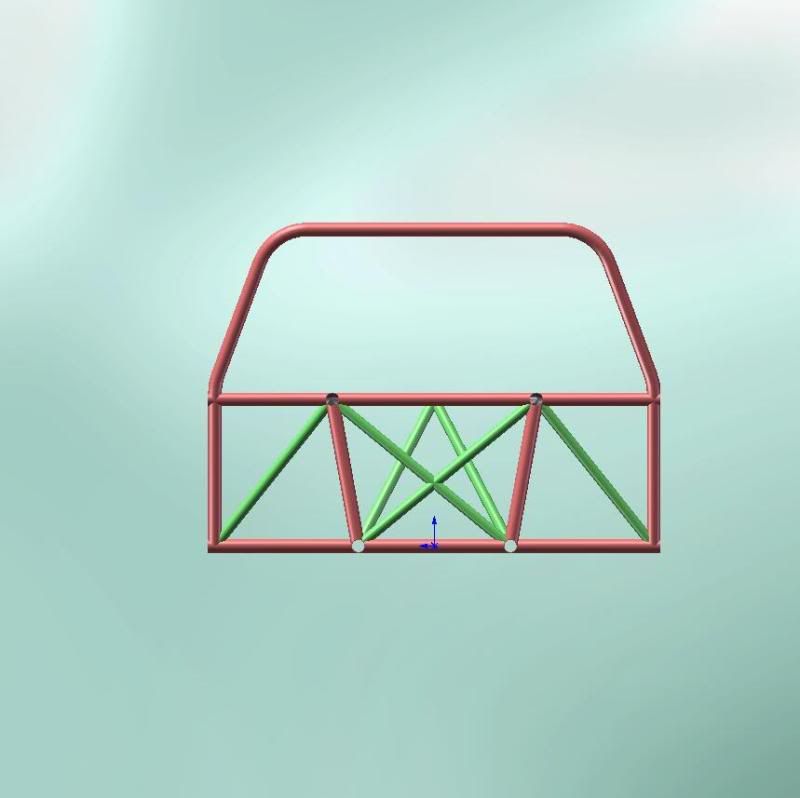
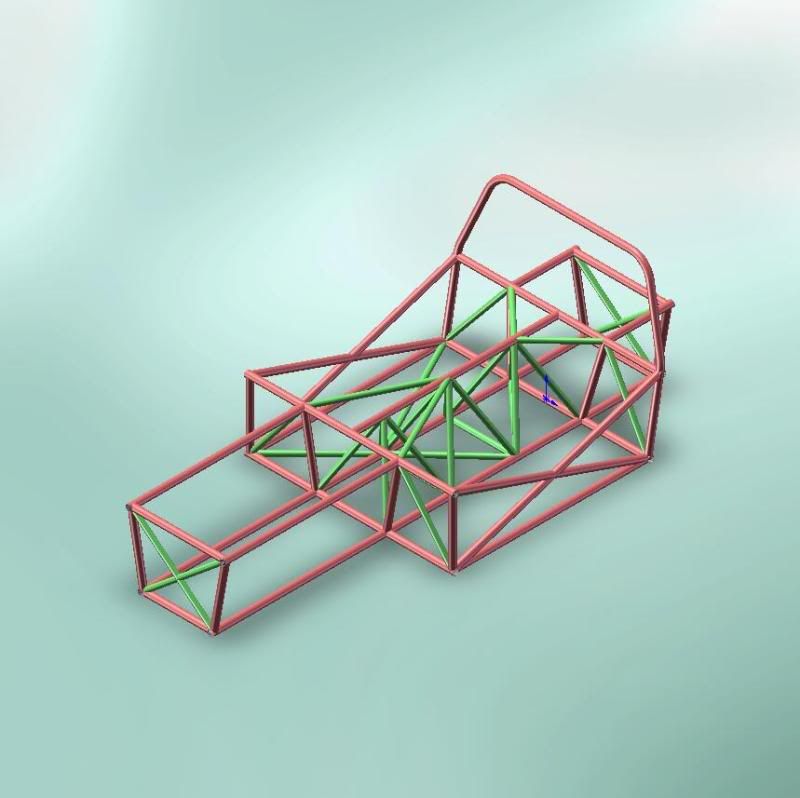
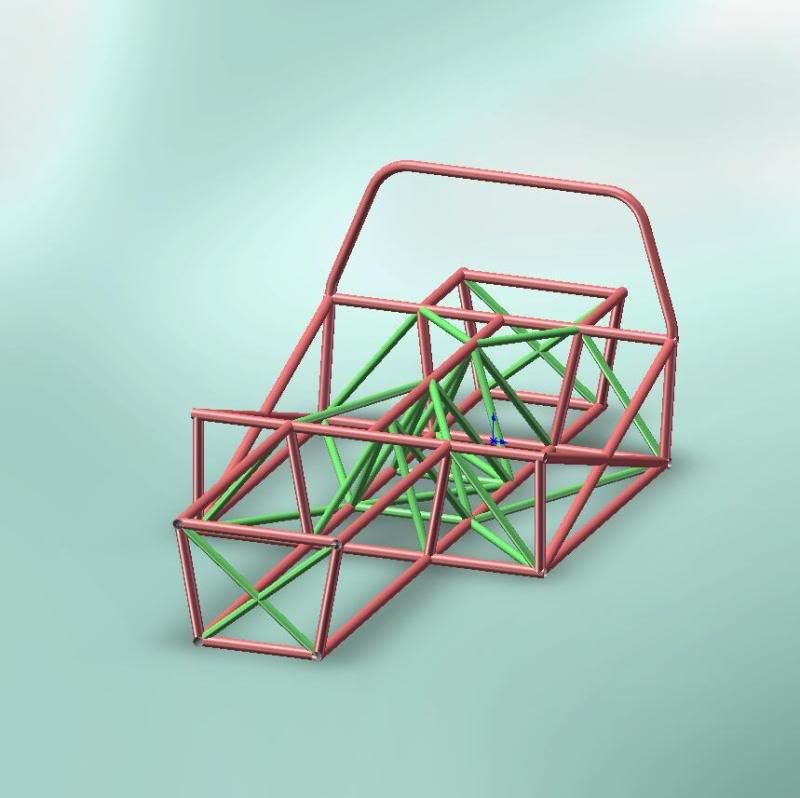
I'm figuring out the roll cage that I'm going to be starting on the 26th

Added the x brace.

Since my car has a crappy floor plan with rust issues along with other problems that needs some work I think I'm going to go ahead and cut out most of the factory sheetmetal under the seats and do a SFI 25.2 style floor section. I will basically be doing a 25.2 chassis without doing a backhalve or funnycar style cage around the driver. This seems to me the best way to go forward on the car as I won't be limited if I do want to go further with this chassis.
Anyway, here is what the floor section of the cage will look like. This will give me a chance to lay down fresh sheet metal. These pictures are from a drag radial stange...


I've been really trying to define what I really want out of my car when it is finished. The first time I fell in love with these cars was when I read the Hot Rod Magazine Pump Gas Drags. The yellow 240z owned my Mark Eggers. This car ran low 9's on a pump gas setup and just looked so bad ass because it sat so low and had good sized tires under the back. I've seen a lot solid axel 240z that went to large on the tires IMO, and it just looks dumb. I want a good sized tire, and also to have the car nice and low. The only thing not for me is the riser hood. Anyway, here are some pictures of this car that started this whole love for datsun...


I sourced a R230 differential and axels today. I'm just slowly but surely collecting parts. I'm not sure if I will be using my 280z for the swap. Maybe but not sure at this point. If I can find a semiclean 240z I'll get one and put all my parts on that.
I figure the best way to run a huge turbo on a L28 is to put it on the passenger side and run the header under the oil pan and up to the passenger side.


Once I remote mount the battery I'm going to have a 5" side dump with muffer:

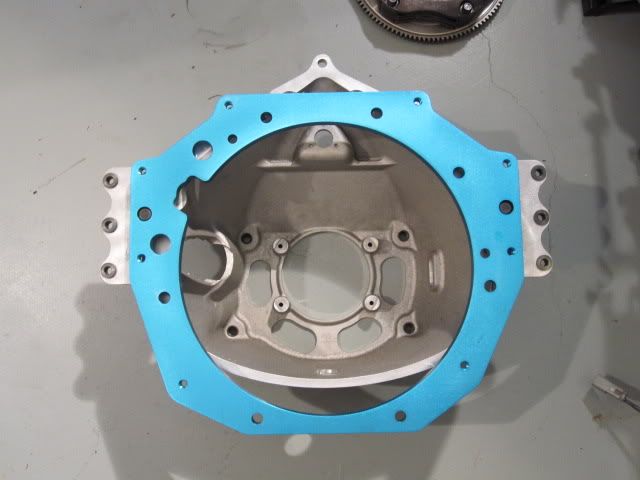
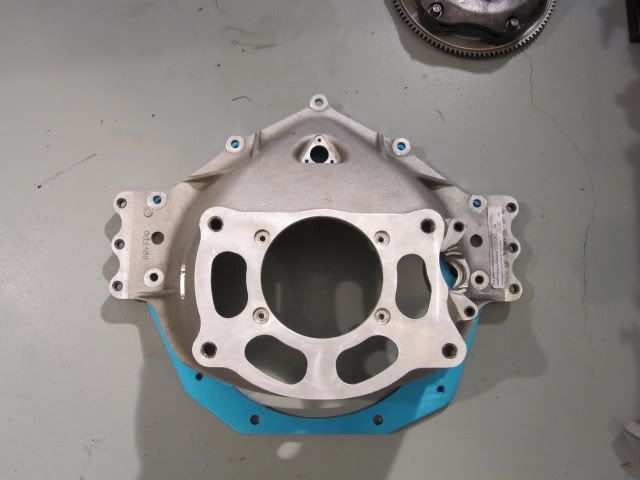
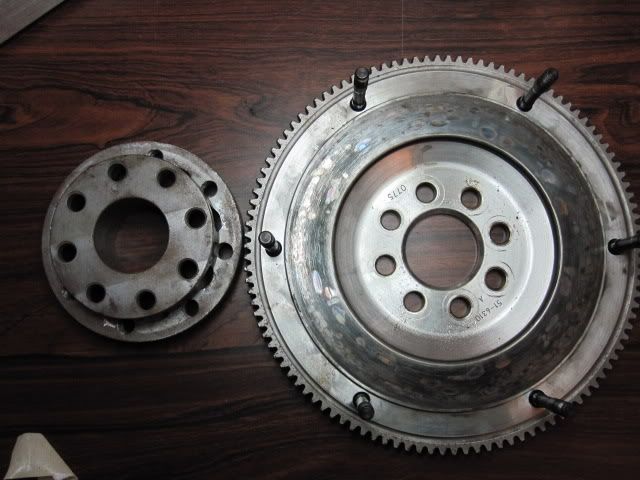
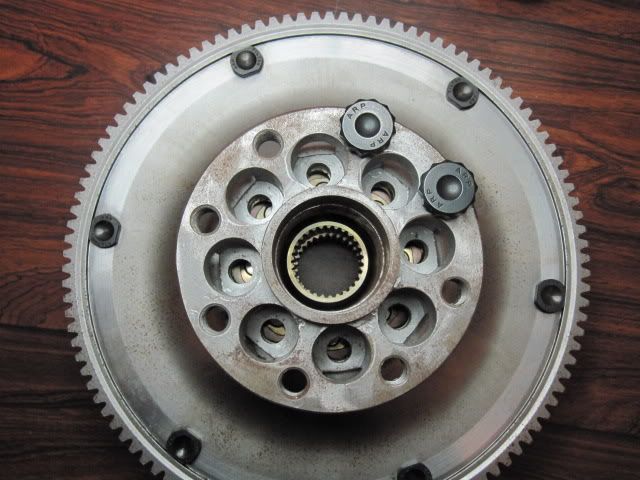
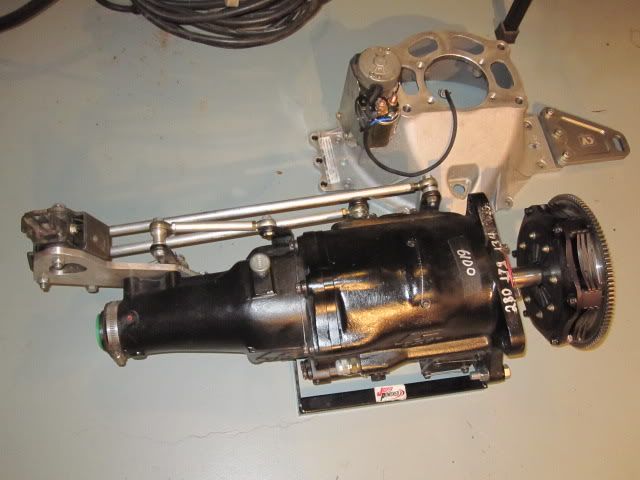
Also heres a picture of the TH400 with ultrabell waiting to be installed.

Received my 6-2 T6 collector the other day. It turned out ok. I'm going to need to massage it a bit before welding up the manifold. I also just purchased a AEM 30-1050 ems. I'm hoping to start wiring that up to the existing engine to get some practice tuning it.


Been working a lot on getting some good seat brackets setup. I ended up using two ~5ft long pieces of 1" X 2" X 0.083" rectangular tubing. I think this will be a very solid way to mount the seats low in the car.
Also, Tonight I started stripping the paint off of the Datsun. I ended up using Mar-Hyde Aircraft Coating Remover 3711. It works pretty well at stripping the paint away from the body. Takes it right down to metal. I ran out of the spray. I think 5-6 cans could do the whole car. I went through 3 cans so far.
I started wire wheeling the areas where the paint had flaked and bubbled up. I'm glad I'm stripping down to bare metal so that I can find the rust and bondo. I ended up running into a good amount of bondo on the drivers side fender. Hopefully not to much elsewhere.


I wasn't able to get to lowes. I ended up at the home depot right next to my house and I got the rapid strip disc:
http://www.homedepot.com/webapp/wcs/...3+90054+524405It worked very well! I worked on the car for ~20-30 minutes. I realize now with all the dust this creates, its pretty stupid to do this work without a respirator. I'm going to pick one up tomorrow and get back to work.


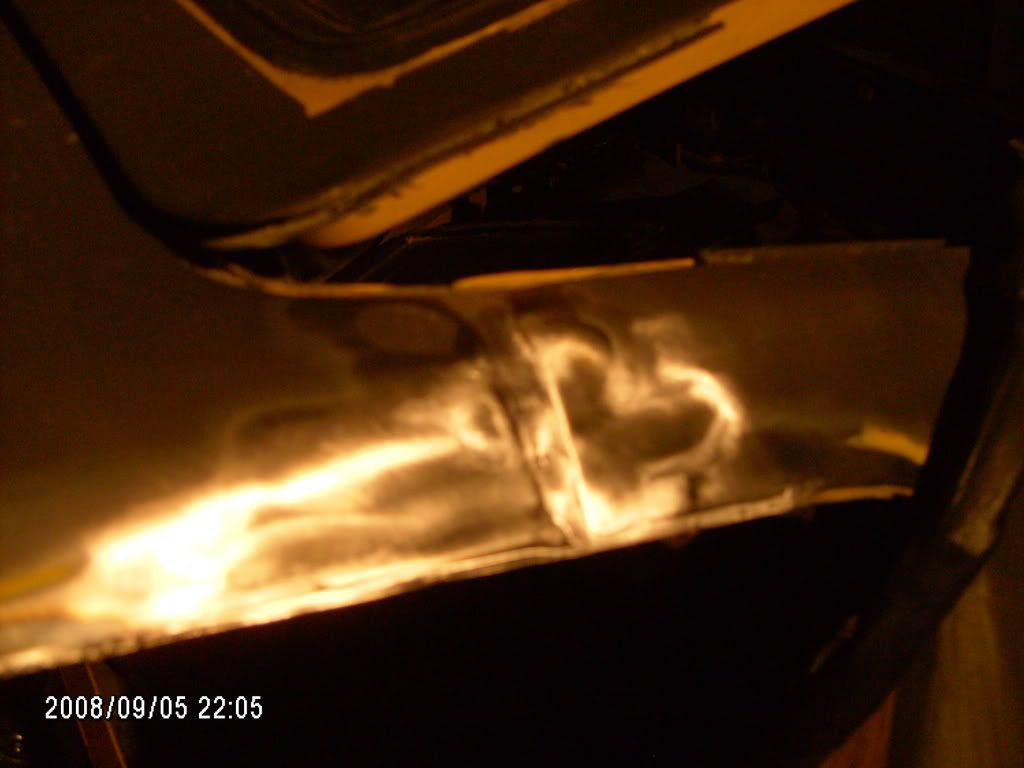
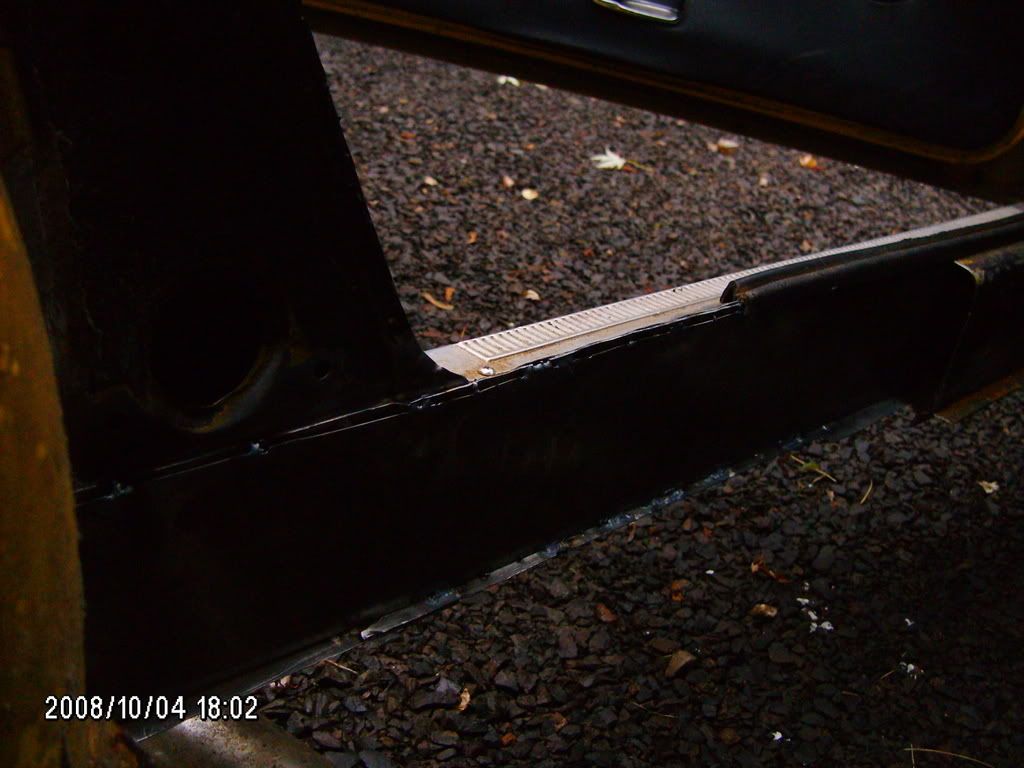
Picked up a MSA Type 3 front air dam last night. I also worked on plating the rocker where I will be attaching the floor section of the cage. It looks horrible right now, but I think I have my method figured out. The passenger side will go much faster now. I just need to make sure I don't deform the structure of the car while modifying the rockers. The floor is completely gone on the drivers side and half gone on the passenger side.
The rockers are filled with tar so I have to burn that out before I can weld the new rocker plates in. Slow going, but its going. I'll mount the type 3 bumper this weekend, along with welding in rocker mounting plates. I need a level to get everything square. Pictures coming soon once I patch up this rocker. Its UGLY right now and I'm a bit embarrassed to have cut so much away
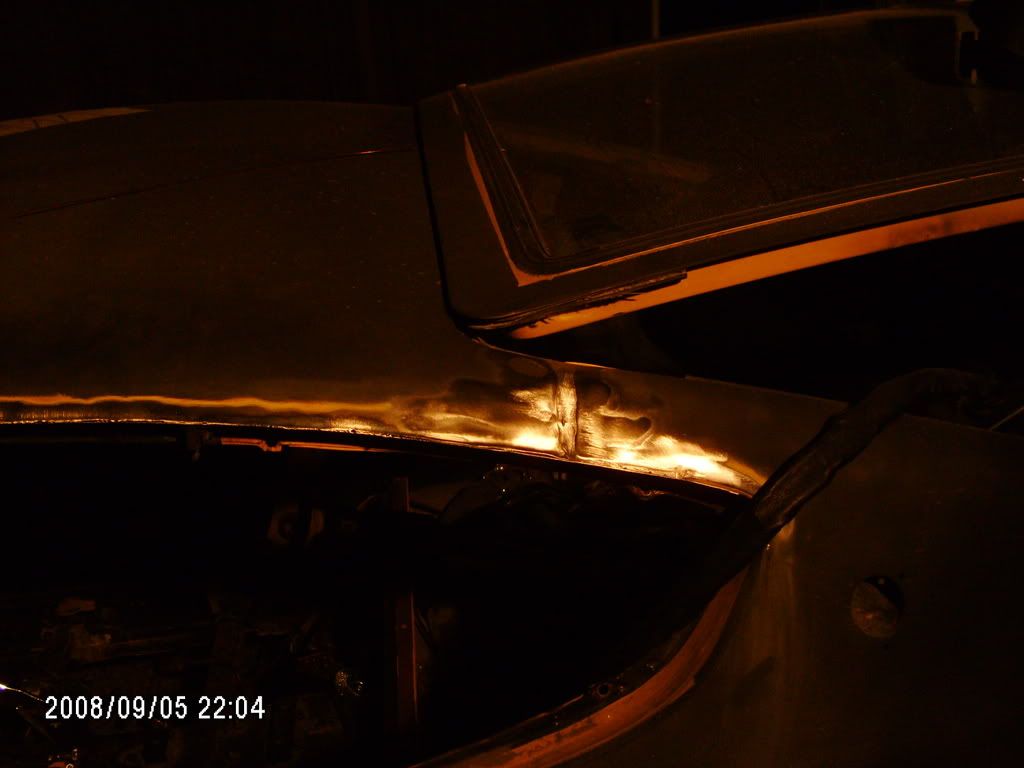
I have a little time to start welding in the plate to narrow the rocker. This will give me more room and place the cage further out. I hope this extra 1.25" per side will help make my ride safer. Once I finish both sides, I will start on the floor section of the cage. Also, I started filling in the marker lights holes.


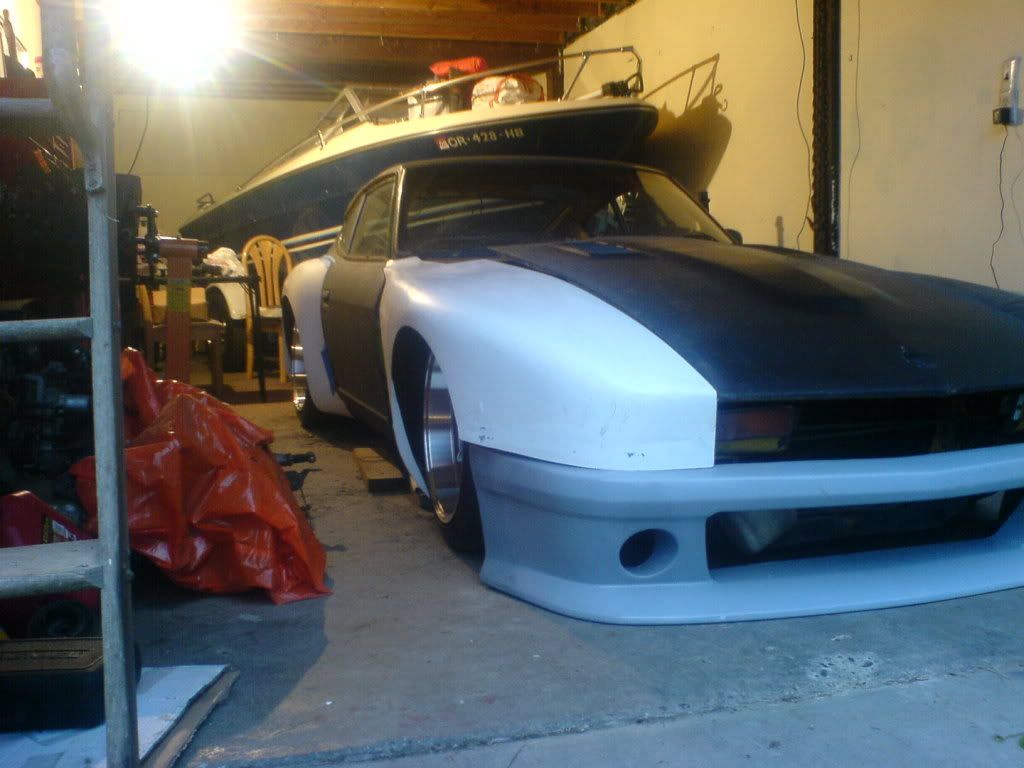
A little update. I'm about to order a set of YZ fenders front and rear. I'm going to retain the MSA type 3 air dam, and modify it to work with the YZ front fenders. I will be running the MSA type 3 in the location pictured below.
I'm also working on figuring out my Bilstein R36-5022 inserts. I'm currently struggling like many have to make the techno toy tuning front camber plates to work on these bilsteins. There just isn't much room for the thrust bearing. The upper ball joint can't articulate with my current clearances. I have some ideas, and will be discussing with my machinist friend ways to retain the thrust bearing.
In other news I have purchased a 99 honda civic to get around in. This is helping a lot as I'm not attending school 5 days a week, working 5 days a week, and caring for my grandparents in my spare time. Life is definitely busy right now, but I'm making the best of it. Hopefully things will get sorted out so I can make time for the Z on the weekends. I will be getting my welder back from my cousin at the end of this month hopefully. He's been using it for the past 3 months to build up is Land Rover project. You can see that here:
http://seriesiiirover.blogspot.com/Also, I nearly forgot that I ordered JSK front rotor hats and mounting brakets. I still trying to decide on a set of calipers to use, but that should be soon. I want to do the brakes at the same time I section the struts. I have to figure out what I'm doing for my rear brake setup. I'm torn between doing a solid axle now, and retaining the IRS. There just aren't many reasonable options for a strong 4 lug stub axle. I think its pretty crazy to spend the money on the Modern Motorsport R230 axle conversion, and billett stub axles. I may sell my R230 diff and axles, and go to a ford 9". Decisions, Decisions, Decisions.
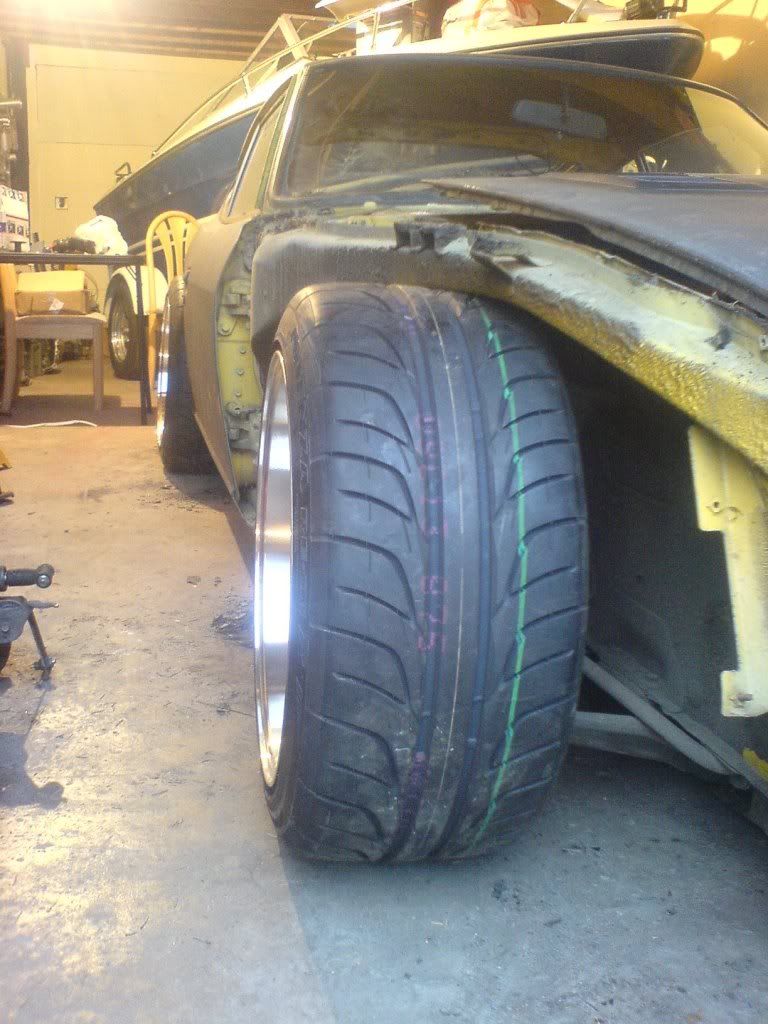
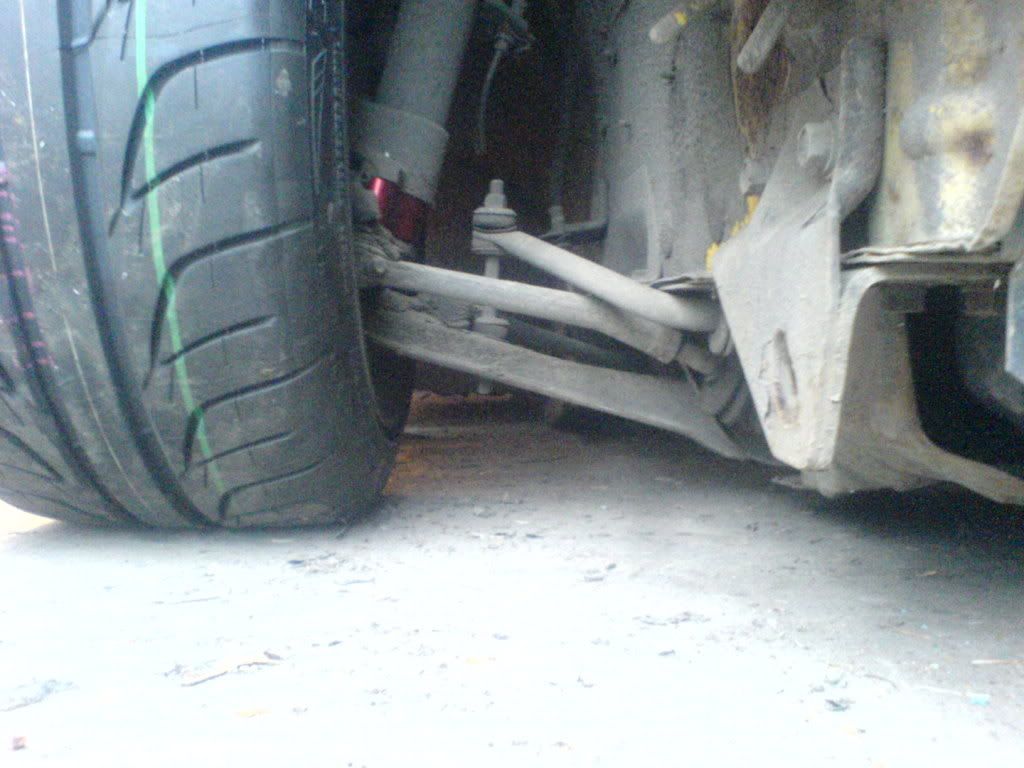
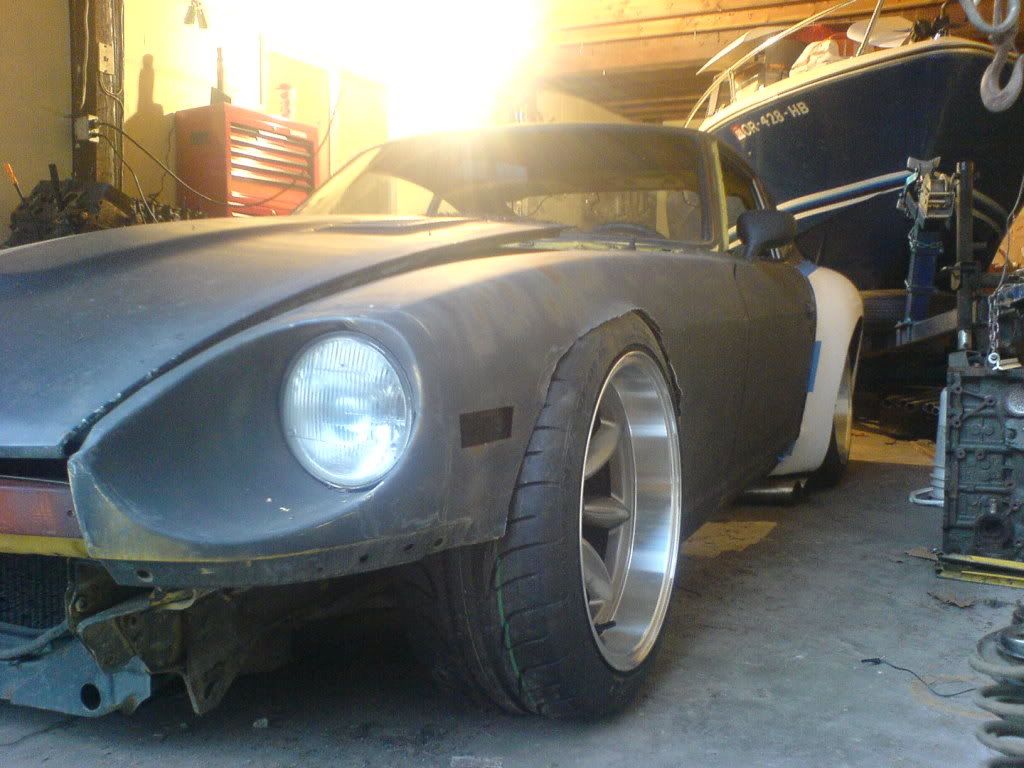
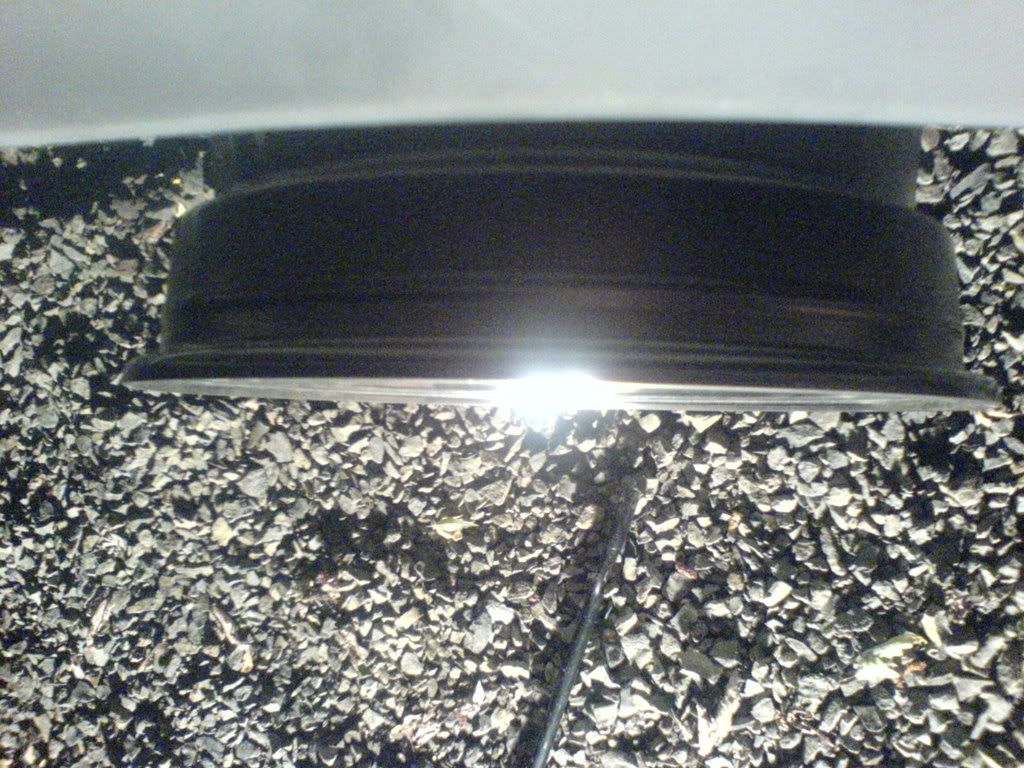
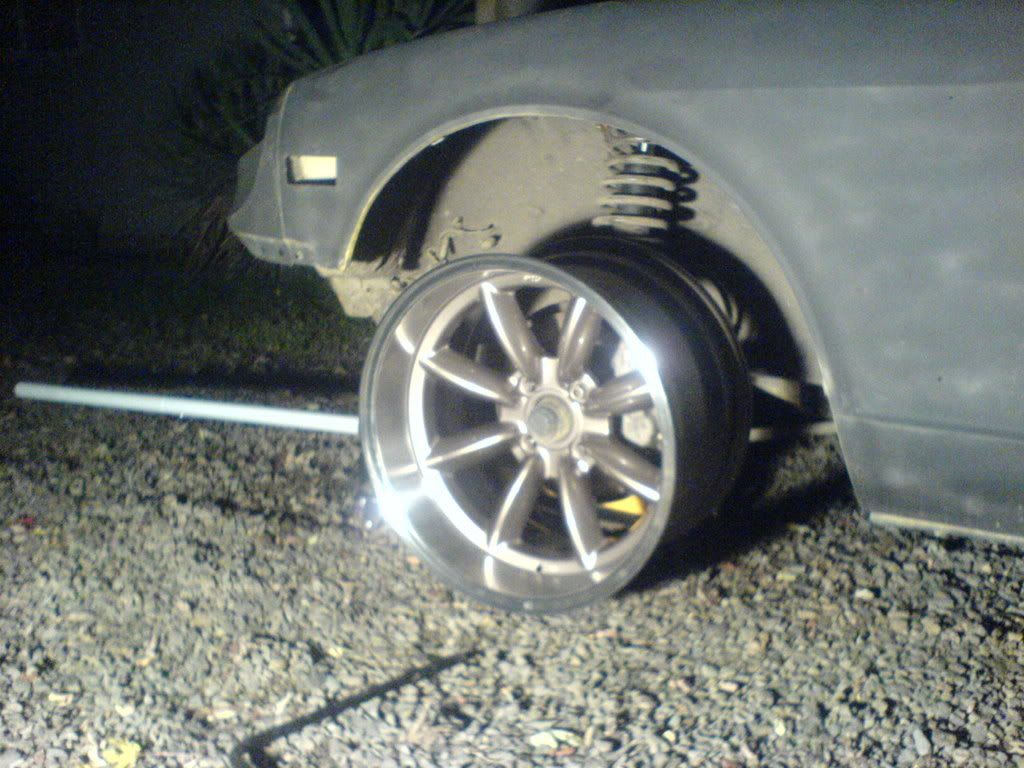
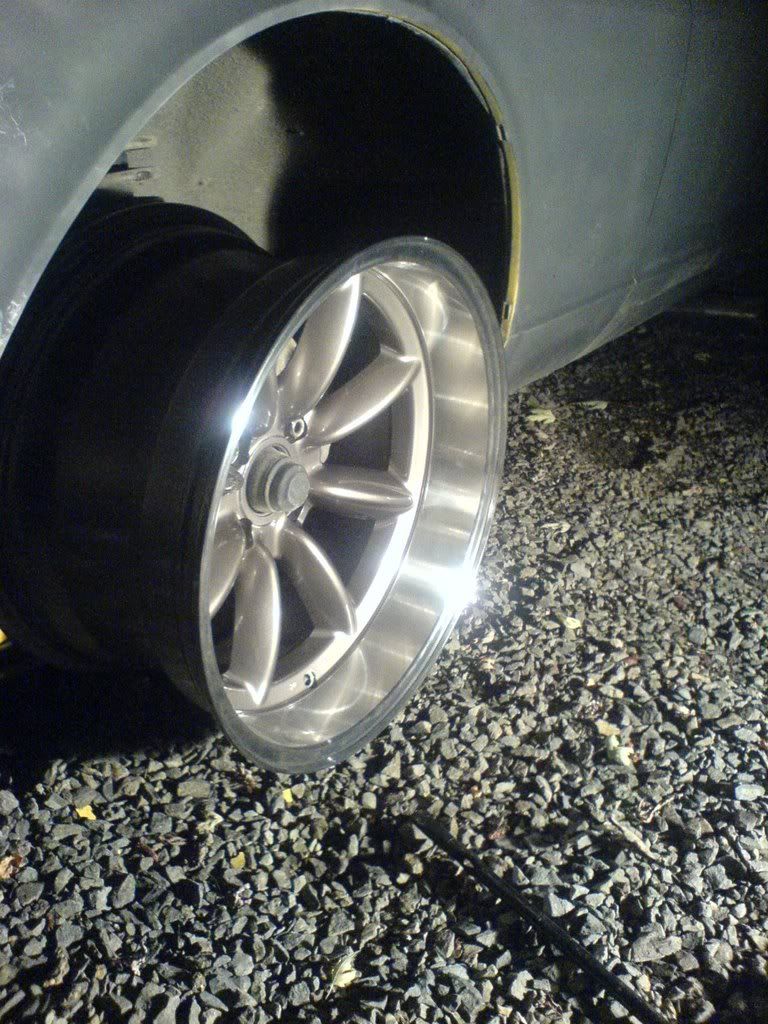
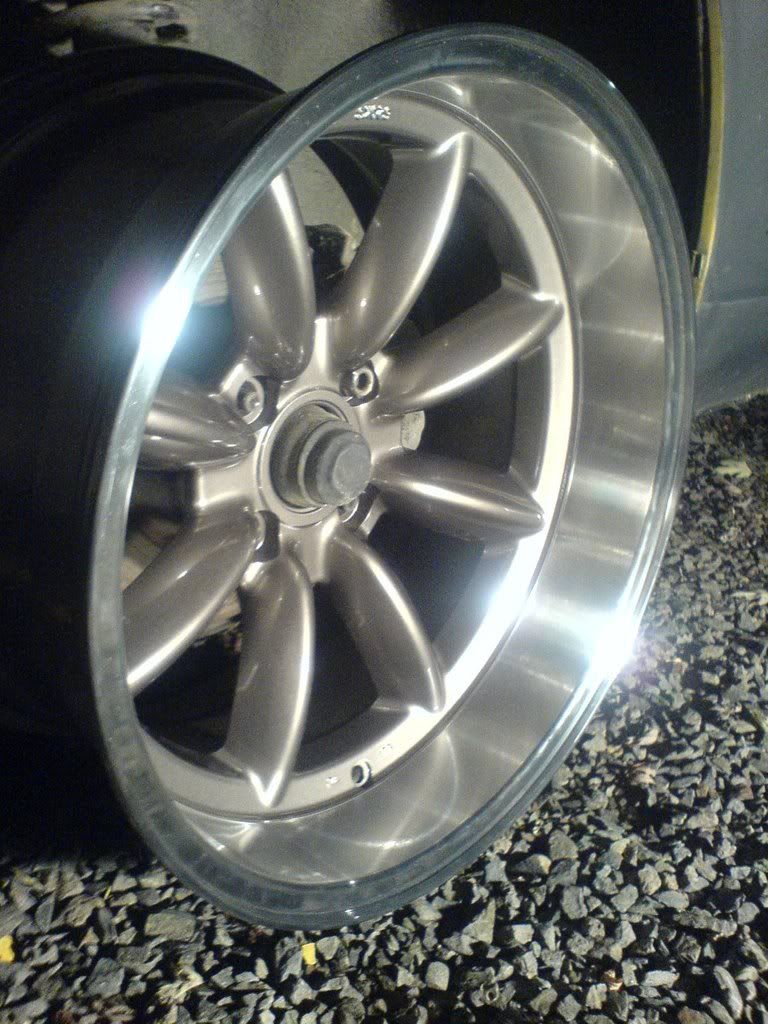
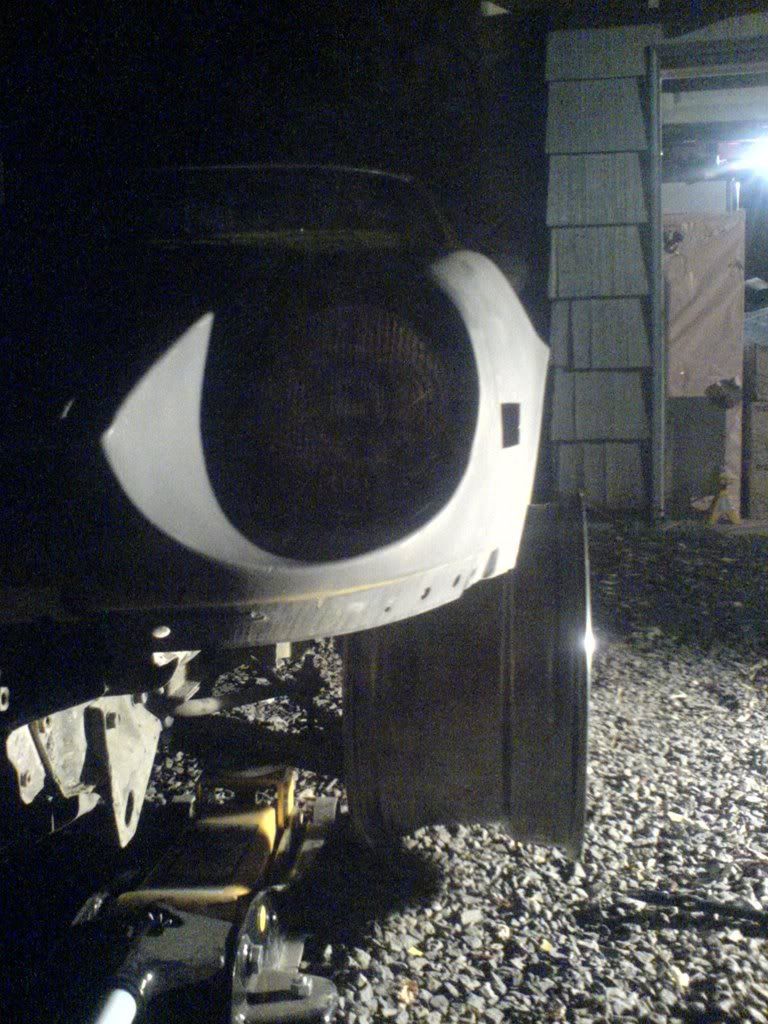
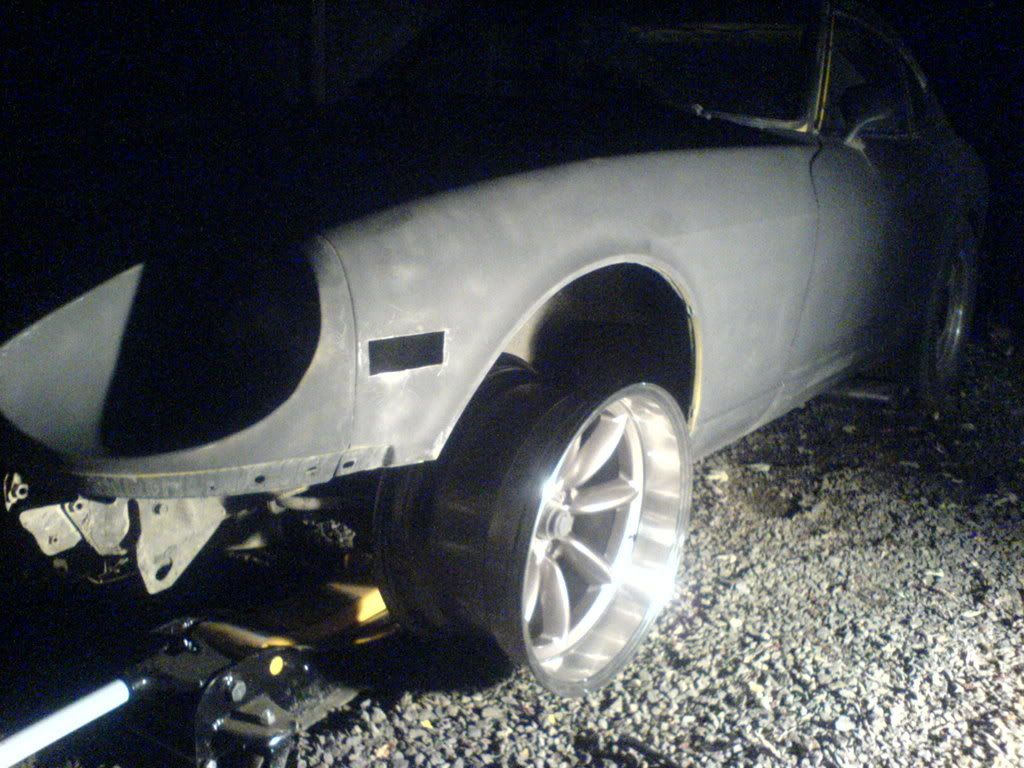
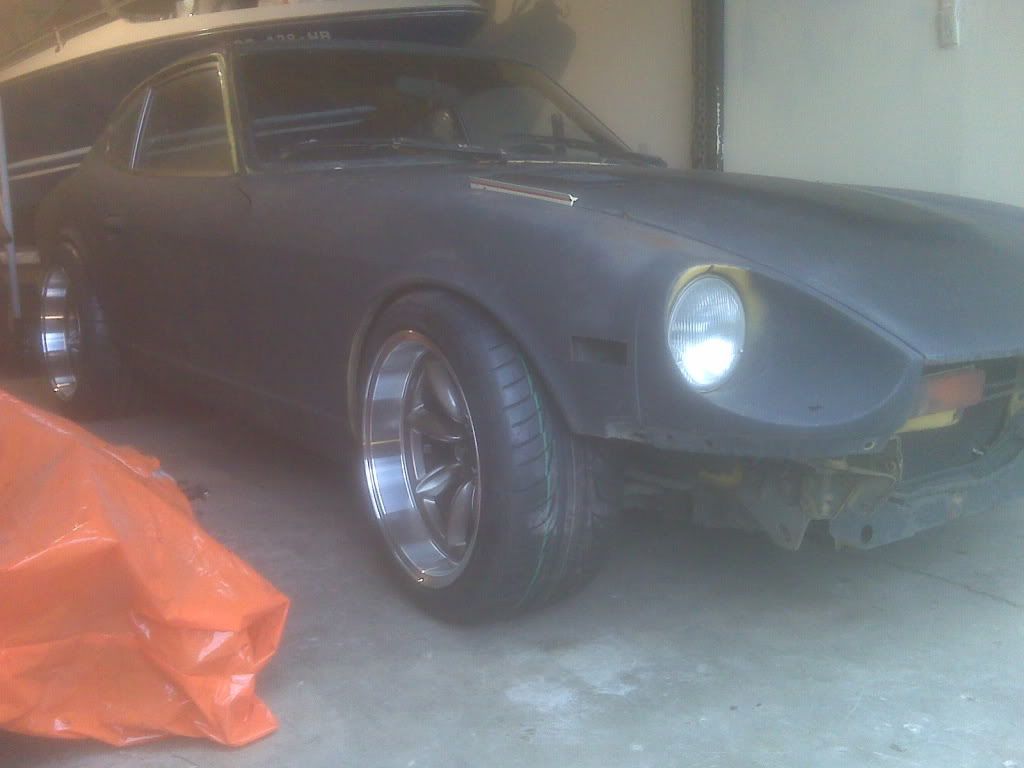
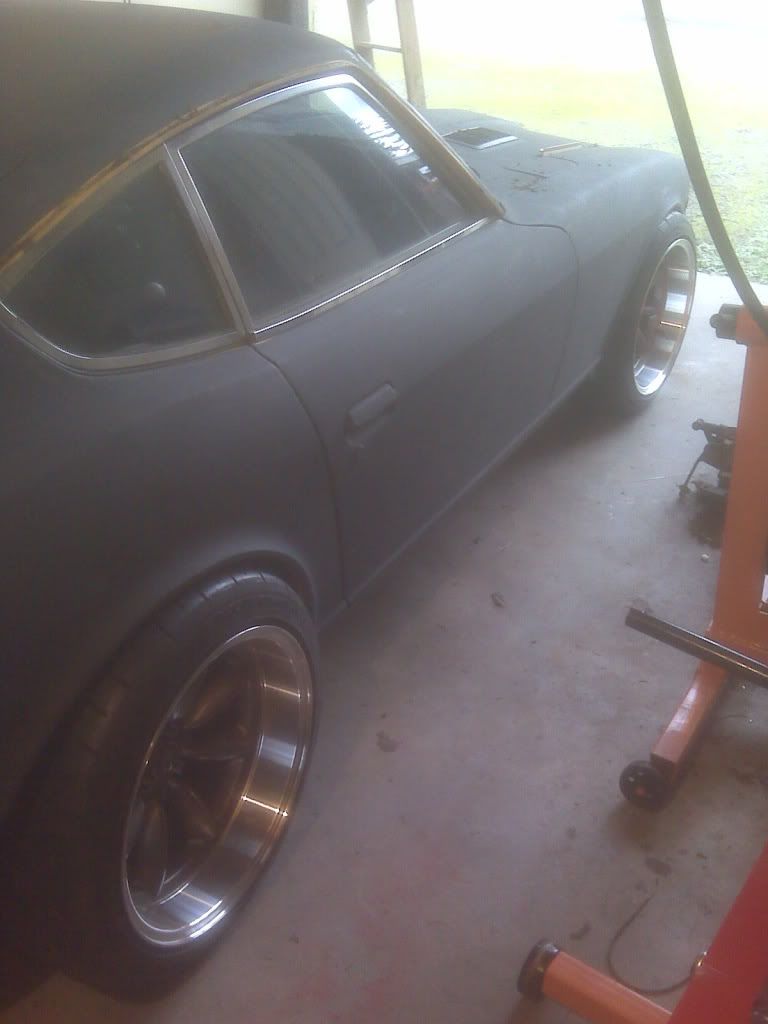
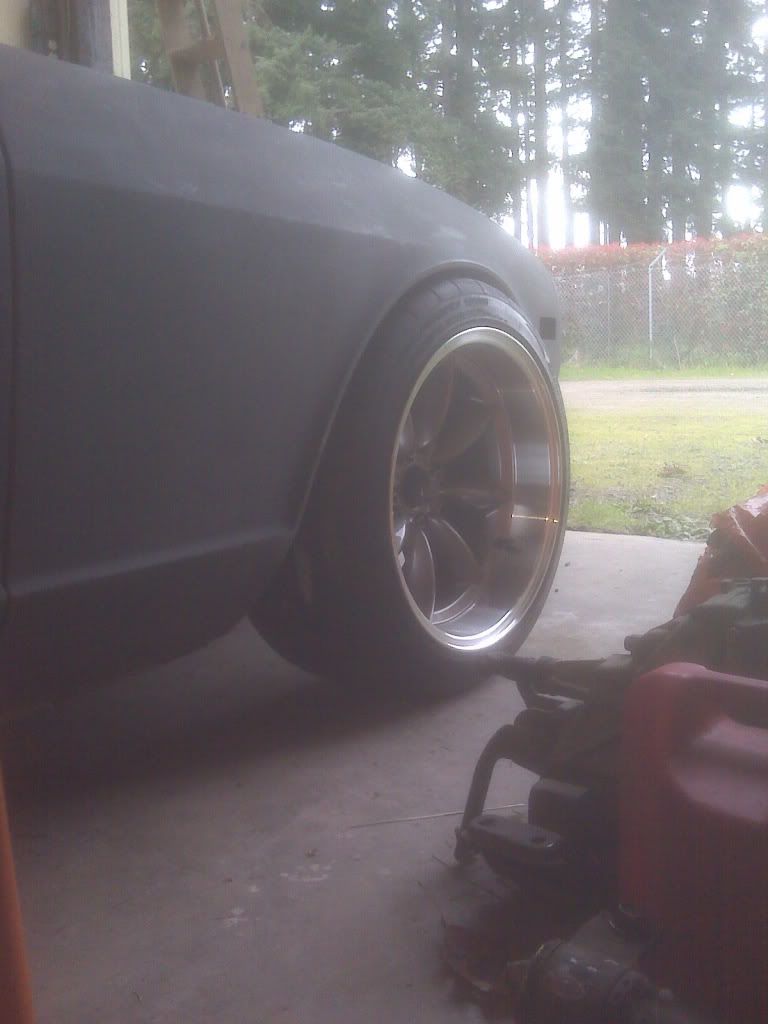
Here are my 17X9.5 with 245/40 Bridgestone RE-01R's. I will get them mounted today and hopefully take some pictures. I wanted to go wider, but I could not pass up these tires at half off from Tire Rack. I think if I ever make an upgrade from these it will be to 285/30-18's all around on some 18X10's.
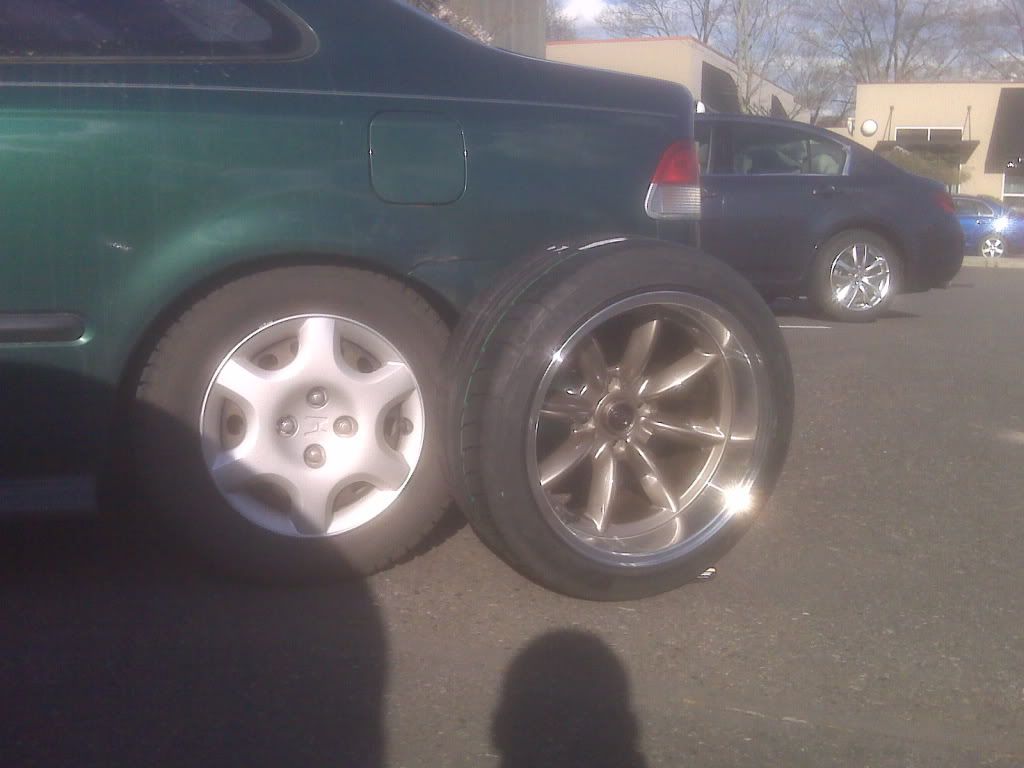

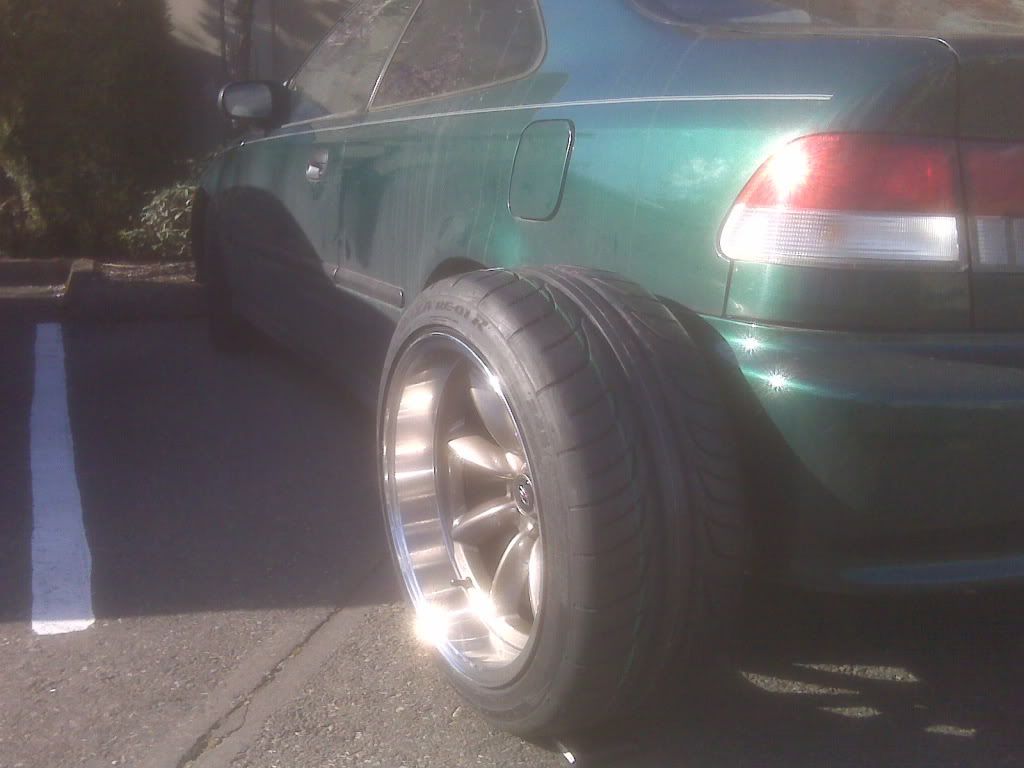
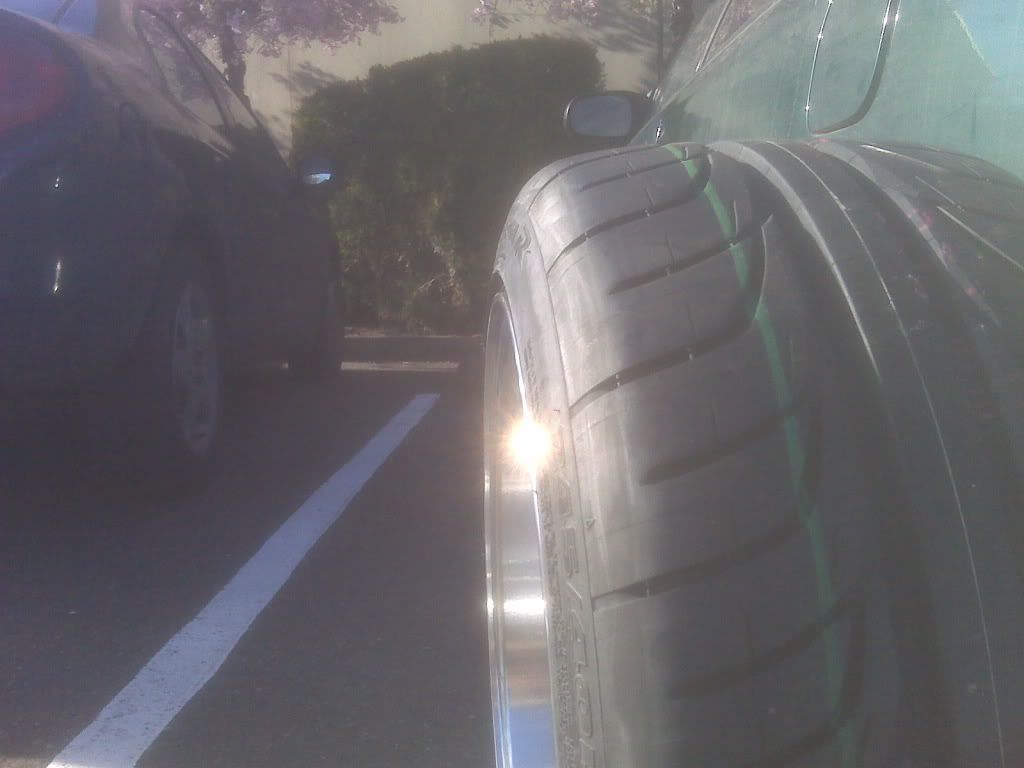
This is at a current rocker height of 5.75" front and 6.5" rear. I think I'm going to ZY fenders front and rear to help get the car lower. Once I get the car down to the height I want it at, I will redesign the suspension pickup points to make it work. Overall I'm really happy with these Rota's. They look great on these Z cars!
YZ Fenders are ordered. I'm really excited to finally make the jump and do these fenders. They are what got me excited about building a Z car way back in 06. Finally my car will have a set
I need to figure out the best way to widen the track of my car to fill out the flares. In the front I will likely space out the struts an inch on each side. In the back, I'll likely run wheel spacers until I decide on my rear end upgrade.
The nice thing about the front YZ fenders is the ability to run the tires much closer to the top level of the fender since it doesn't curve away like the factory fenders. No dealing with mounting the ZG flares high enough now. Hopefully I can get the MSA Type 3 widened, as I'd really like to retain it.